Back to Parent

Outcome


Intention

  The goal of this project is to create a product for my sister that helps her overcome the stress that is associated with being a new mother. She loves essential oil therapy, so I would like to make an automatic essential oil diffuser for her.   

Context

After having a brief discussion with my sister, I identified four main design criteria that would make the diffuser beneficial to her:

1. Option for intermittent diffusing or continuous diffusing.

2. Diffuser acts as a “night-light”.

3. Diffuser automatically turns off when it is out of water.

4. Diffuser only turns on when she is in the room.

Criteria #1 can be achieved with a simple switch.

Criteria #2 and #3 can be cleverly combined. My plan is to include a light sensor that detects when it is night-time and the lights in the room have been turned off. I can use a moisture sensor to detect the amount of water left in the diffuser and change the hue of the light to reflect the amount of moisture left. When the water has run out, the light stays on regardless if it is dark or not, and the light will be a dark red hue (soft yellow when the water is full).

Criteria #4 can be achieved by using a motion sensor. Once the motion sensor is tripped, the diffuser runs for one hour.

This project can be enhanced by allowing the diffuser to be controlled remotely through a smartphone app, but that is outside the scope of this project.

If I were to build this project for real, I would use this "donut diffuser":

https://www.youtube.com/watch?v=uy91Tu5kvfc

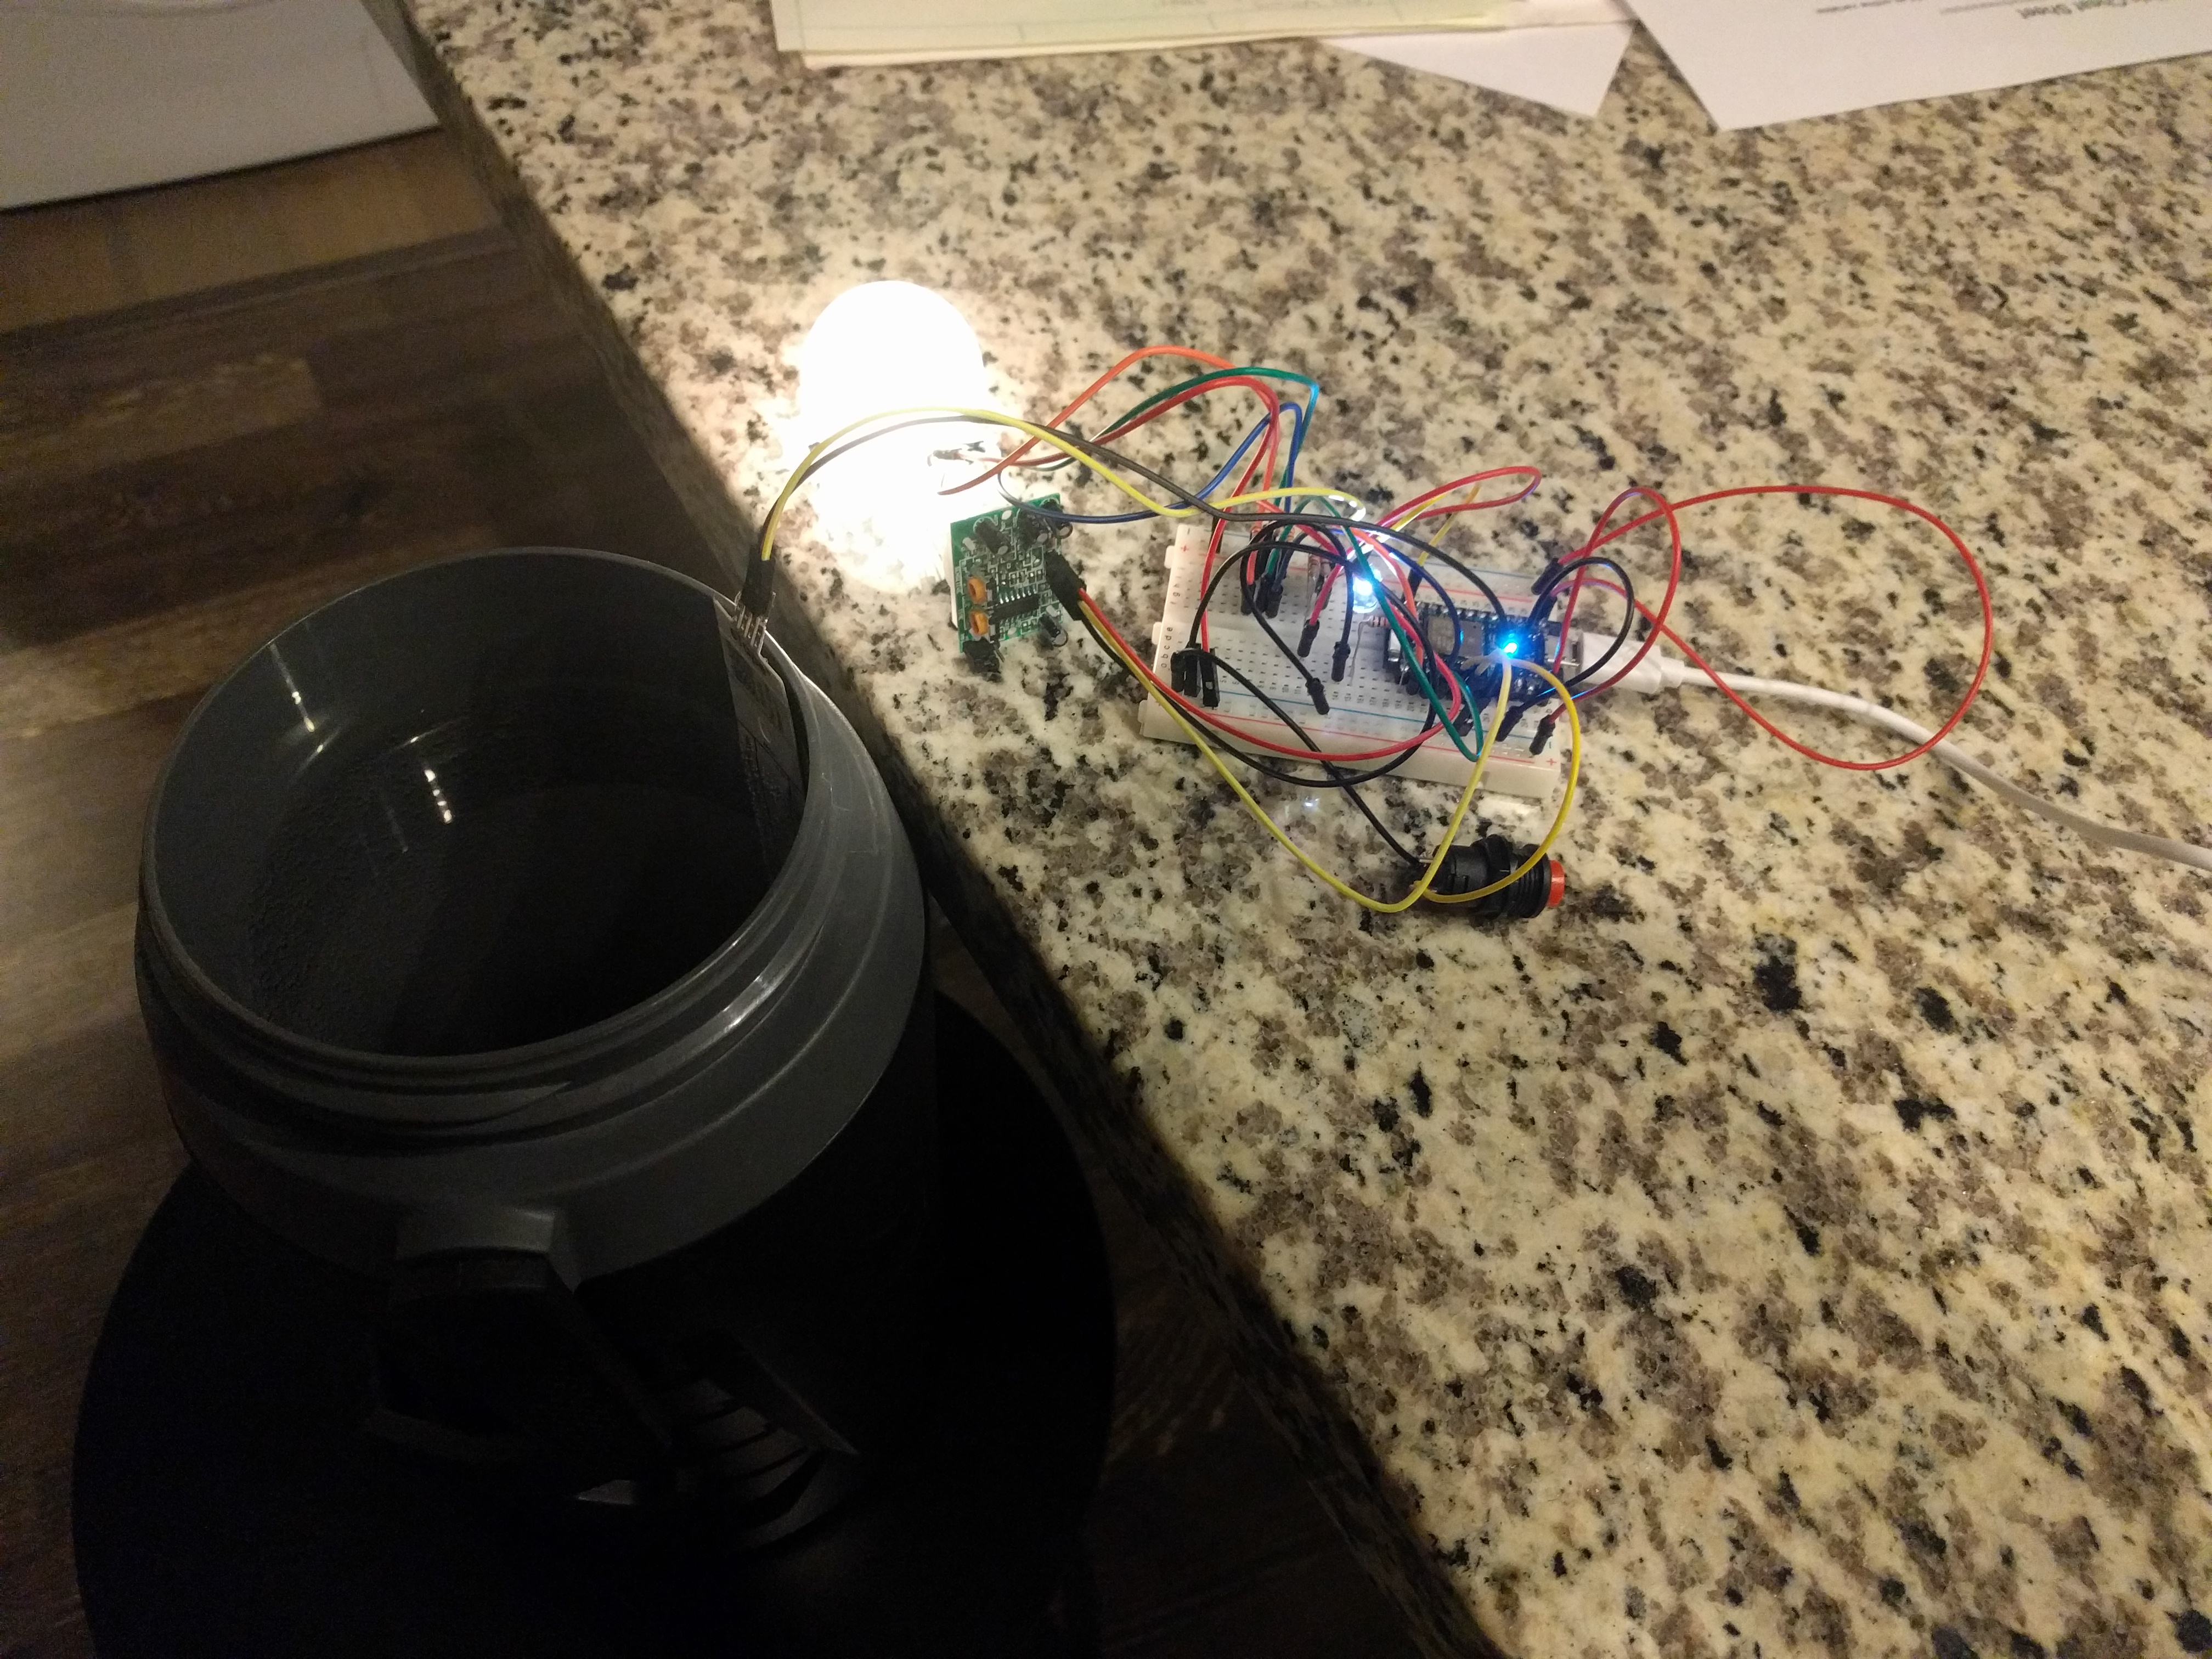
To keep things simple for this first project, I am planning on using a simple LED to take the place of an actual diffuser.  This will give me the feedback that I need to verify that my code and wiring is correct.
Process

Planning Phase:

To aide in this project, I will look for IOT projects with similar features that I can use as a starting point. Two projects that contain features such as this include:

· A motion sensing light (turns on only when a person is in the room)

· A garden moisture sensor

Here is the preliminary parts list for the project:

Item # Part Name QTY Source
1 Particle Photon 1 Particle Kit
2 Switch 1 Particle Kit
3 Water Level Sensor 1 Amazon
4 PIR Motion Sensor 1 Particle Kit
5 Ambient Light Sensor 1 Particle Kit
6 RGB LED 1 Particle Kit

Build Phase:

Step 1:

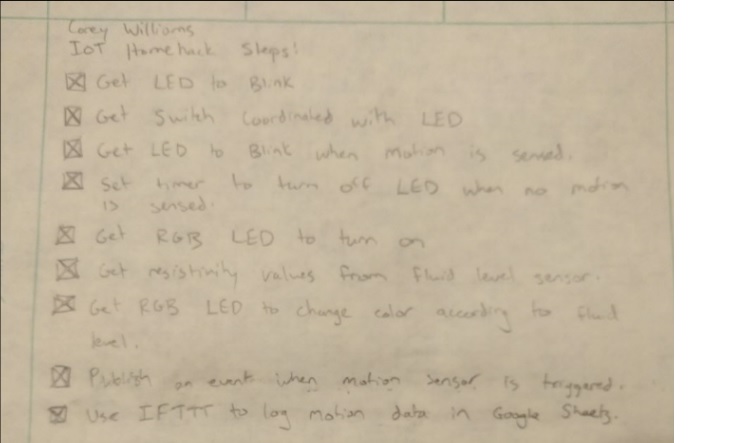
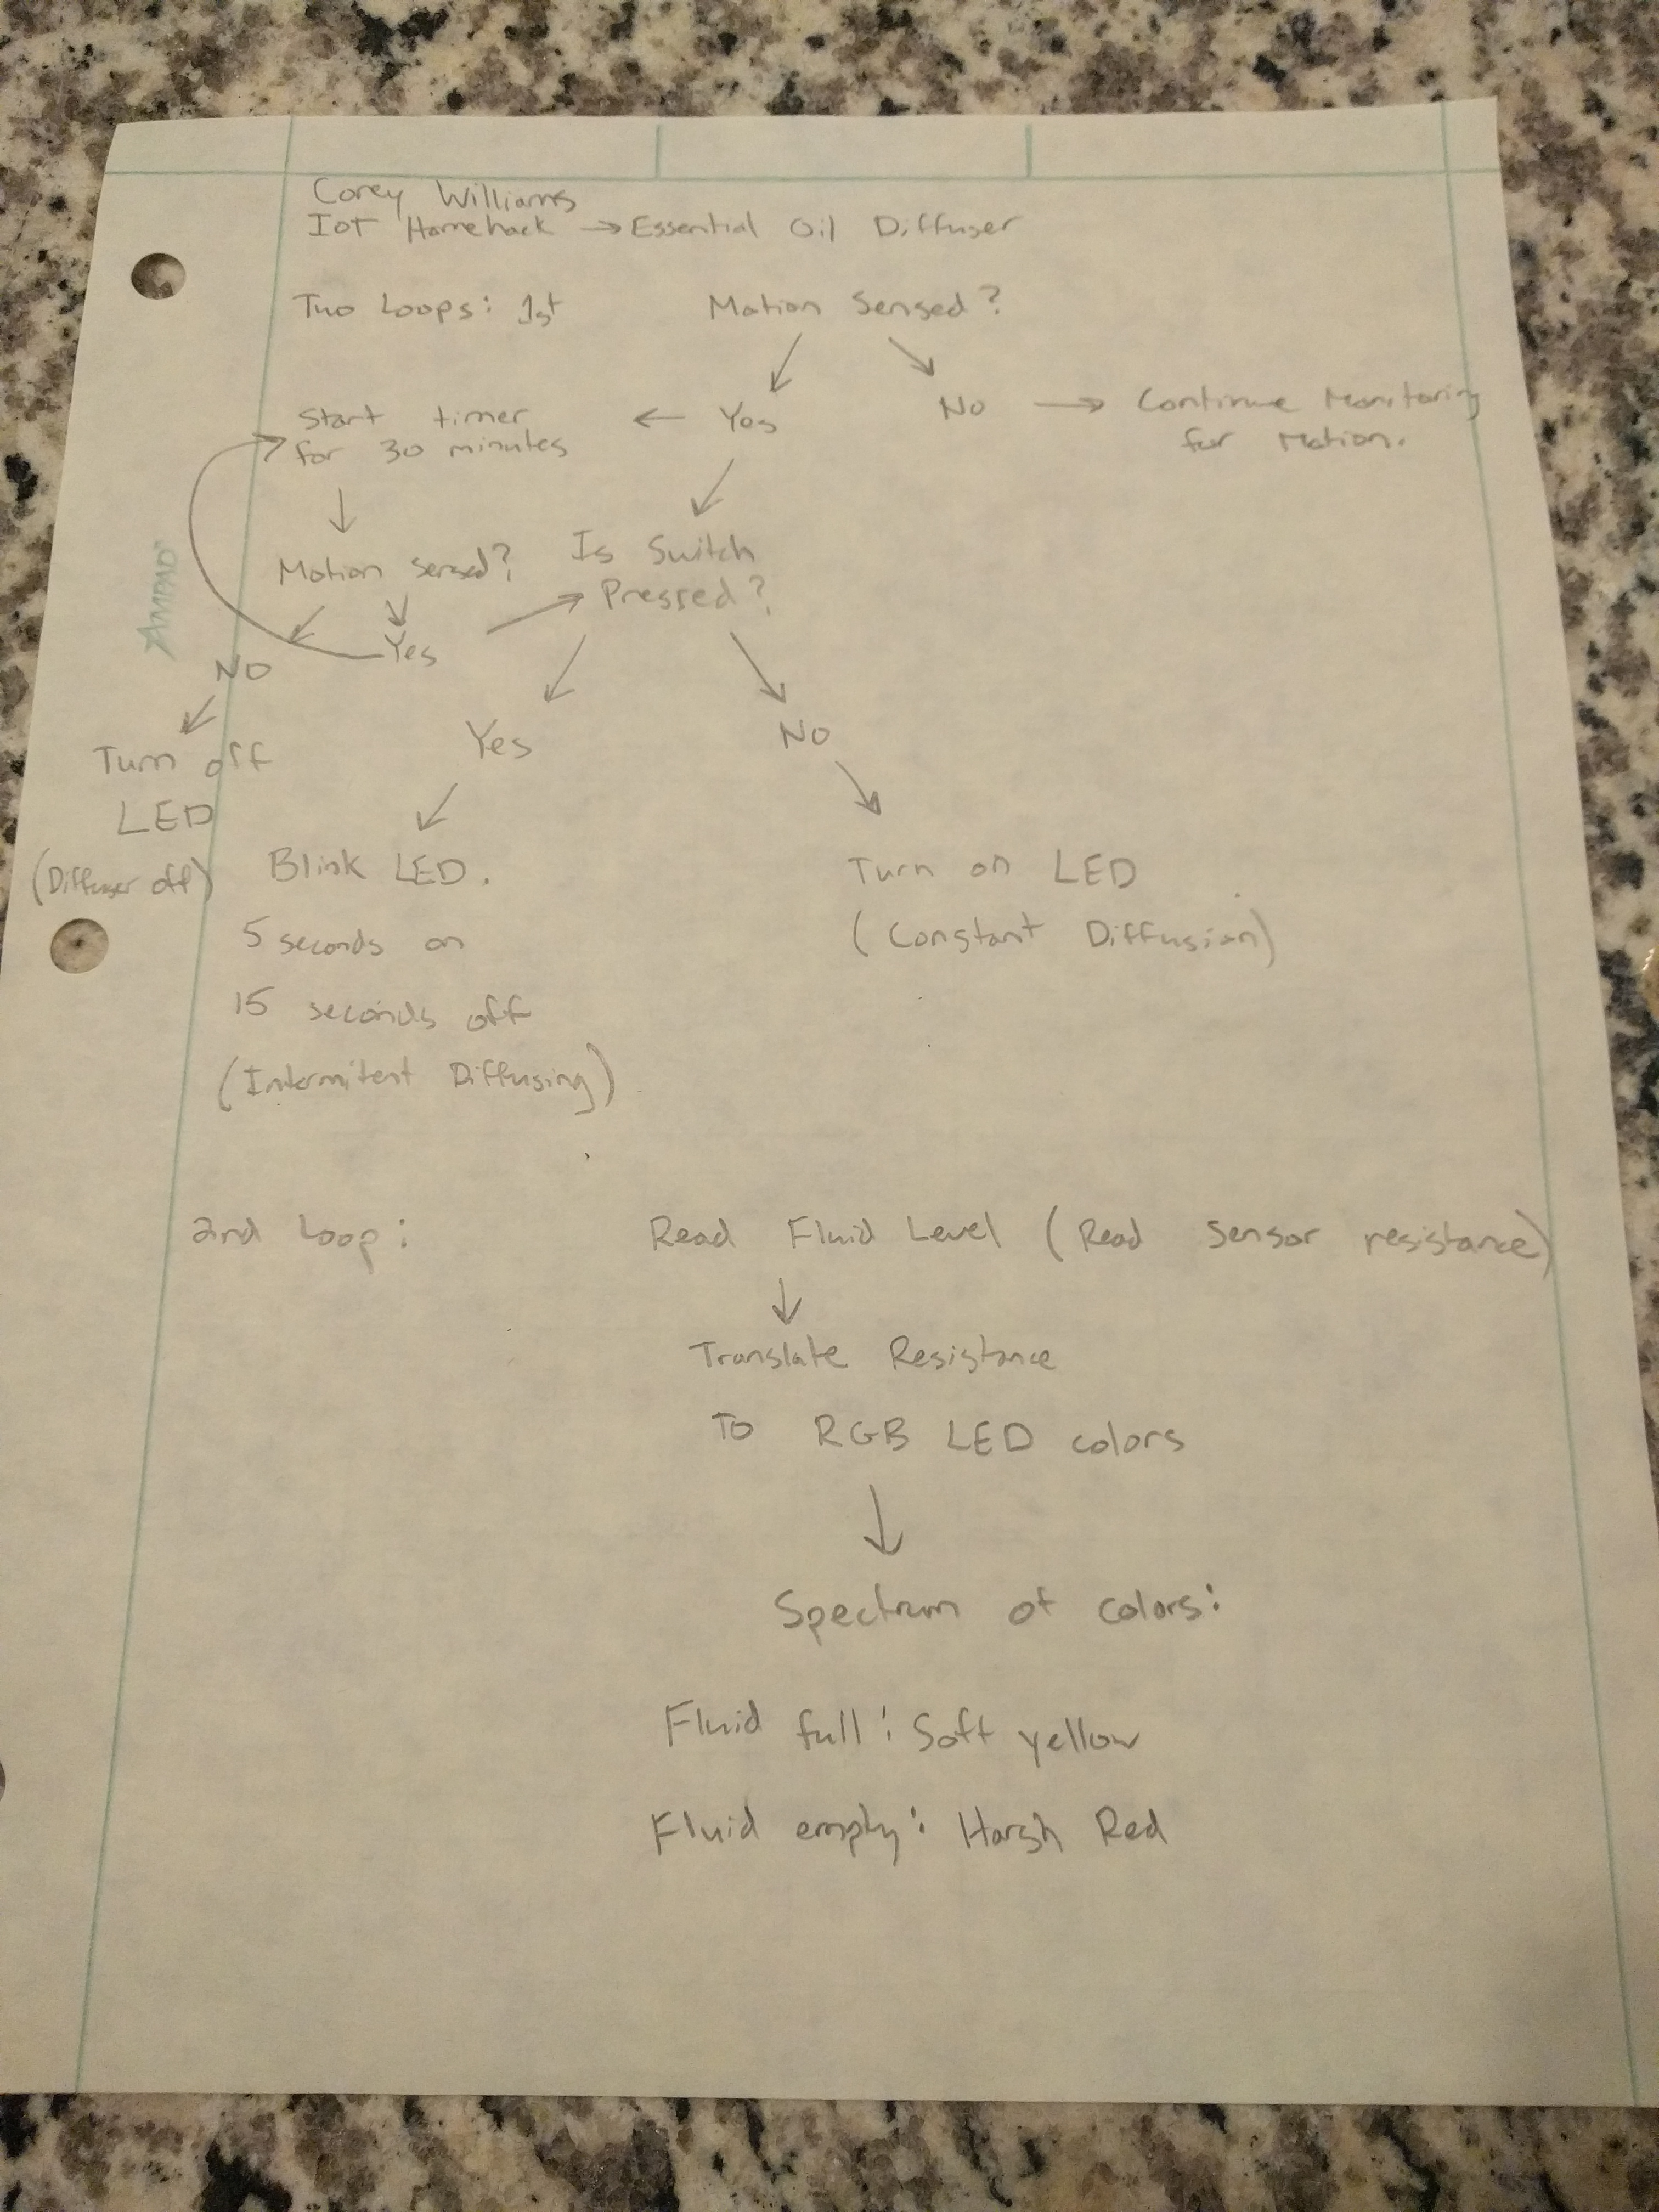
Before beginning the project, I made a logic flow chart to plan my code and a checklist to plan my steps.  Here they are:


Img 20180130 091225
Show Advanced Options
Cropped list
Show Advanced Options

Step 2:

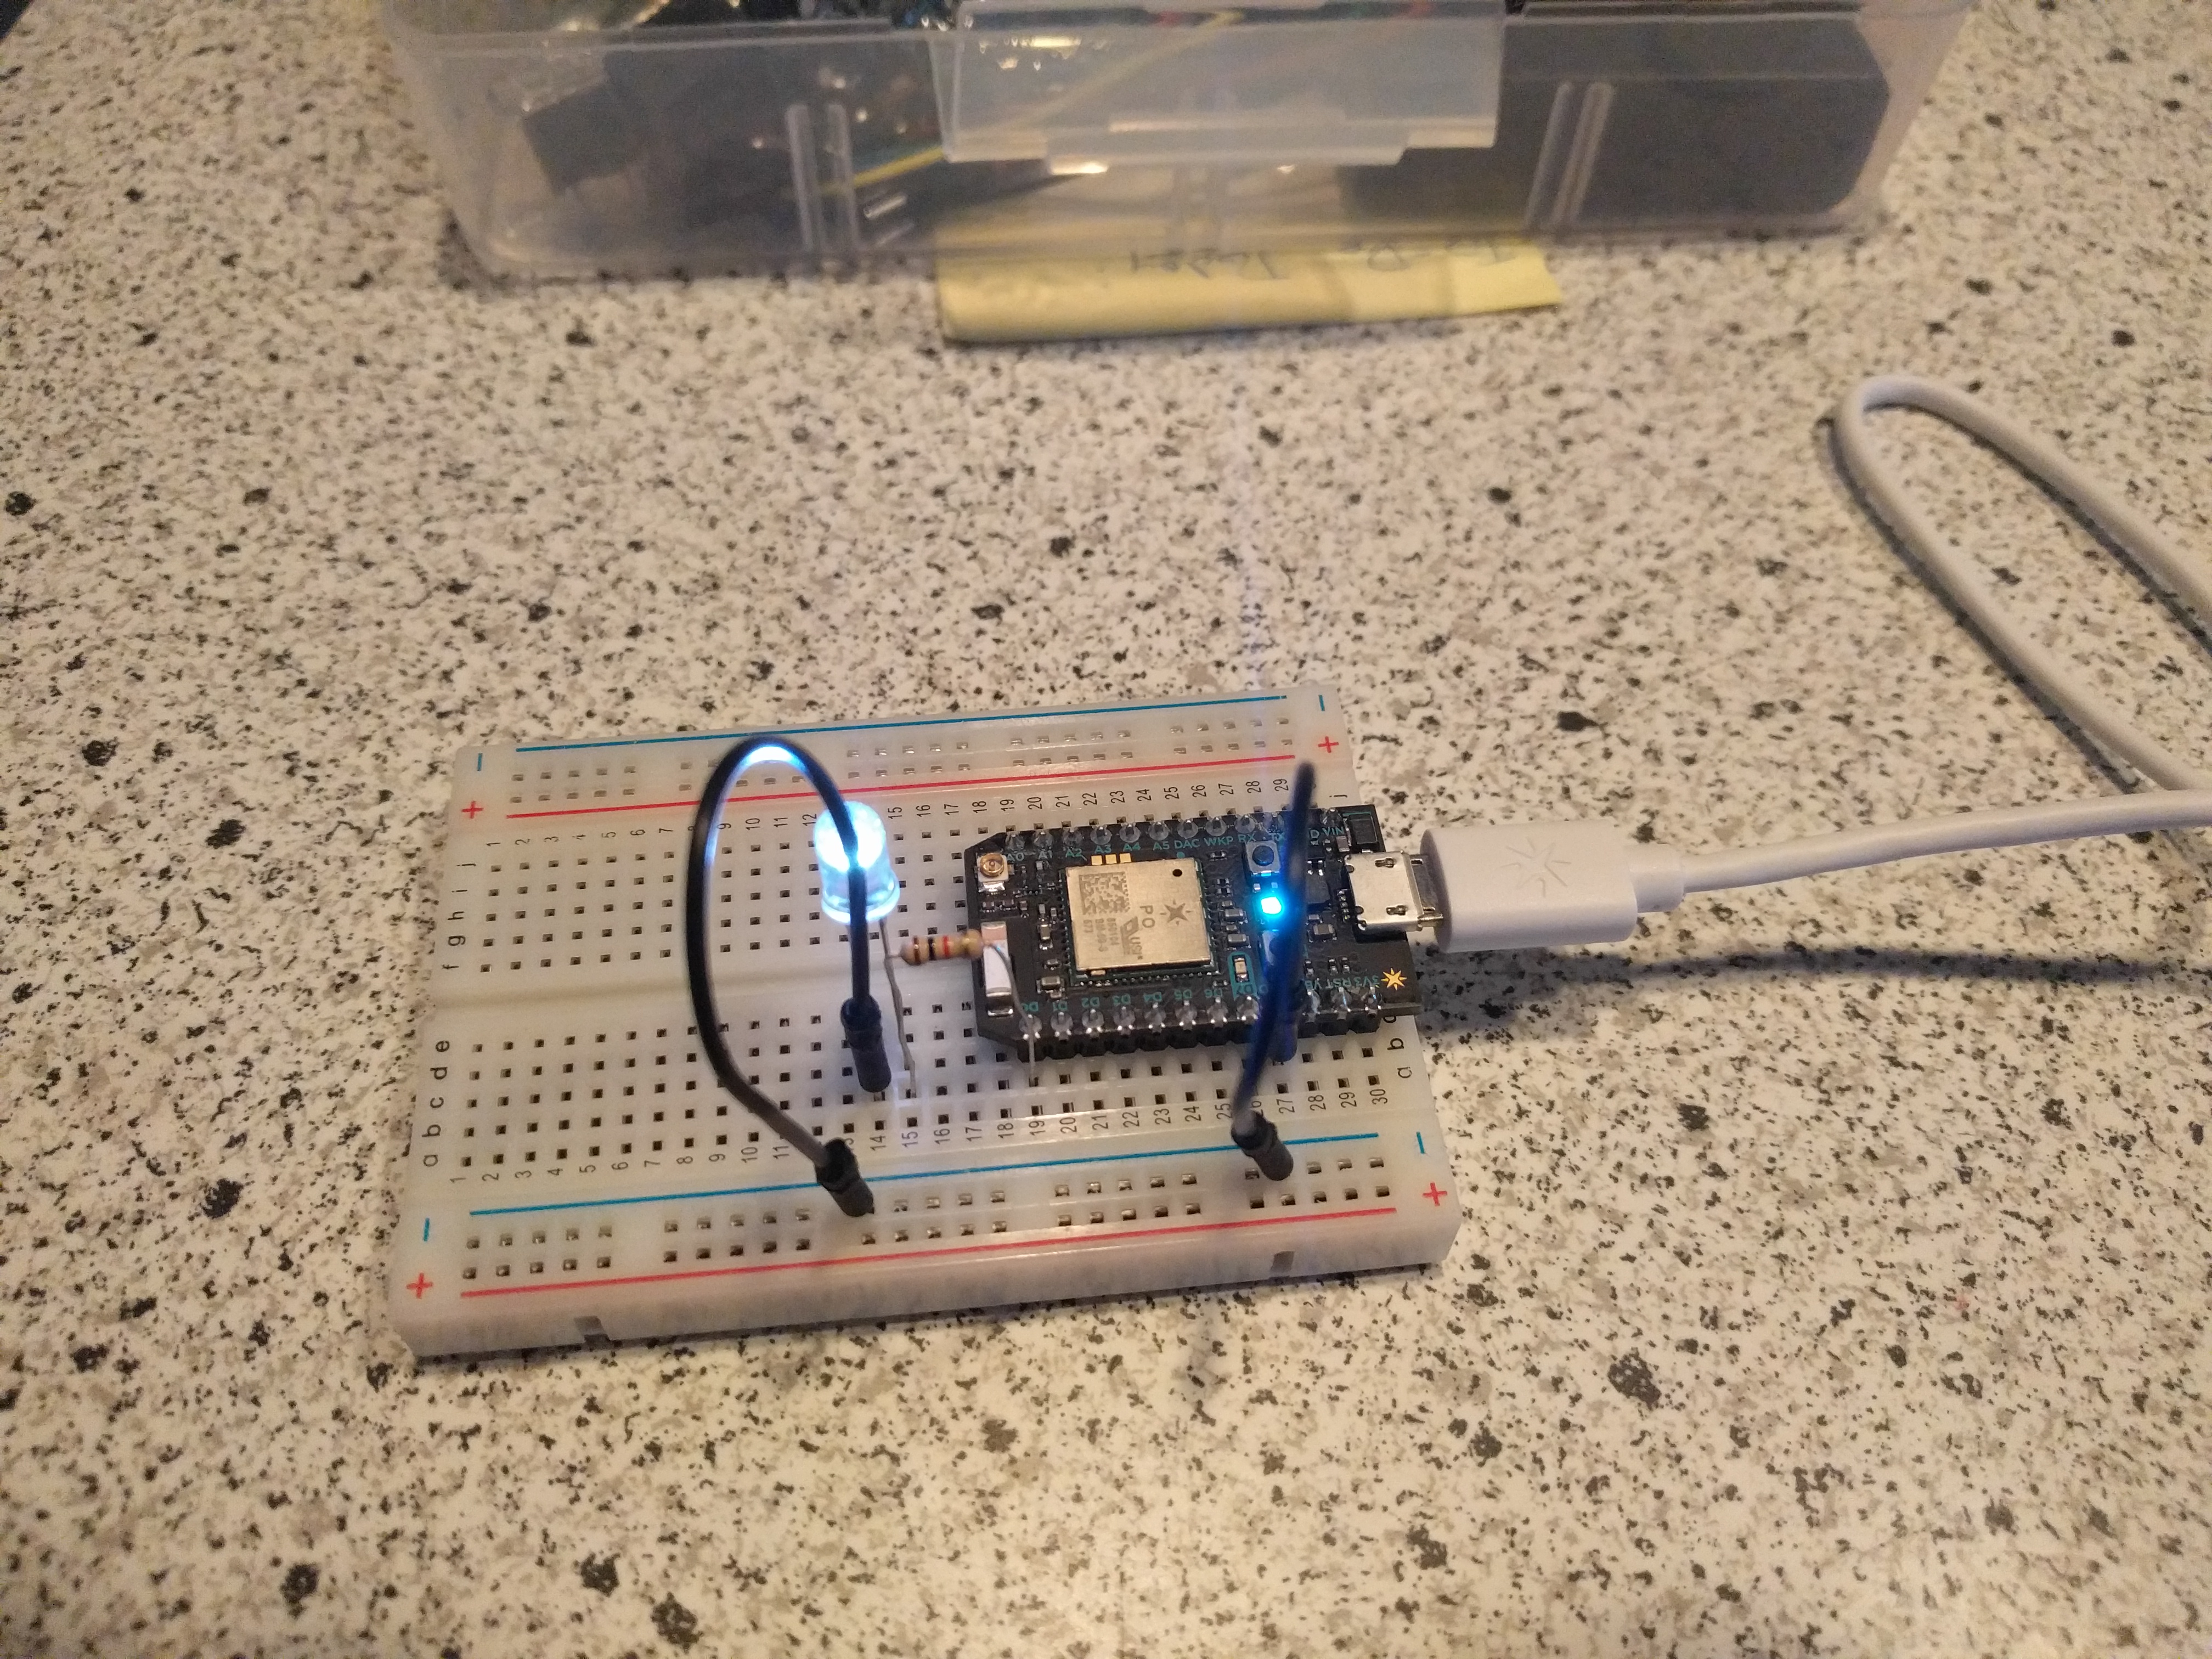
Following my checklist, the next step of the build phase was to wire up a simple LED that will act as my "diffuser" and check the connections by getting it to blink:

Img 20180127 165143
Show Advanced Options

Step 3:

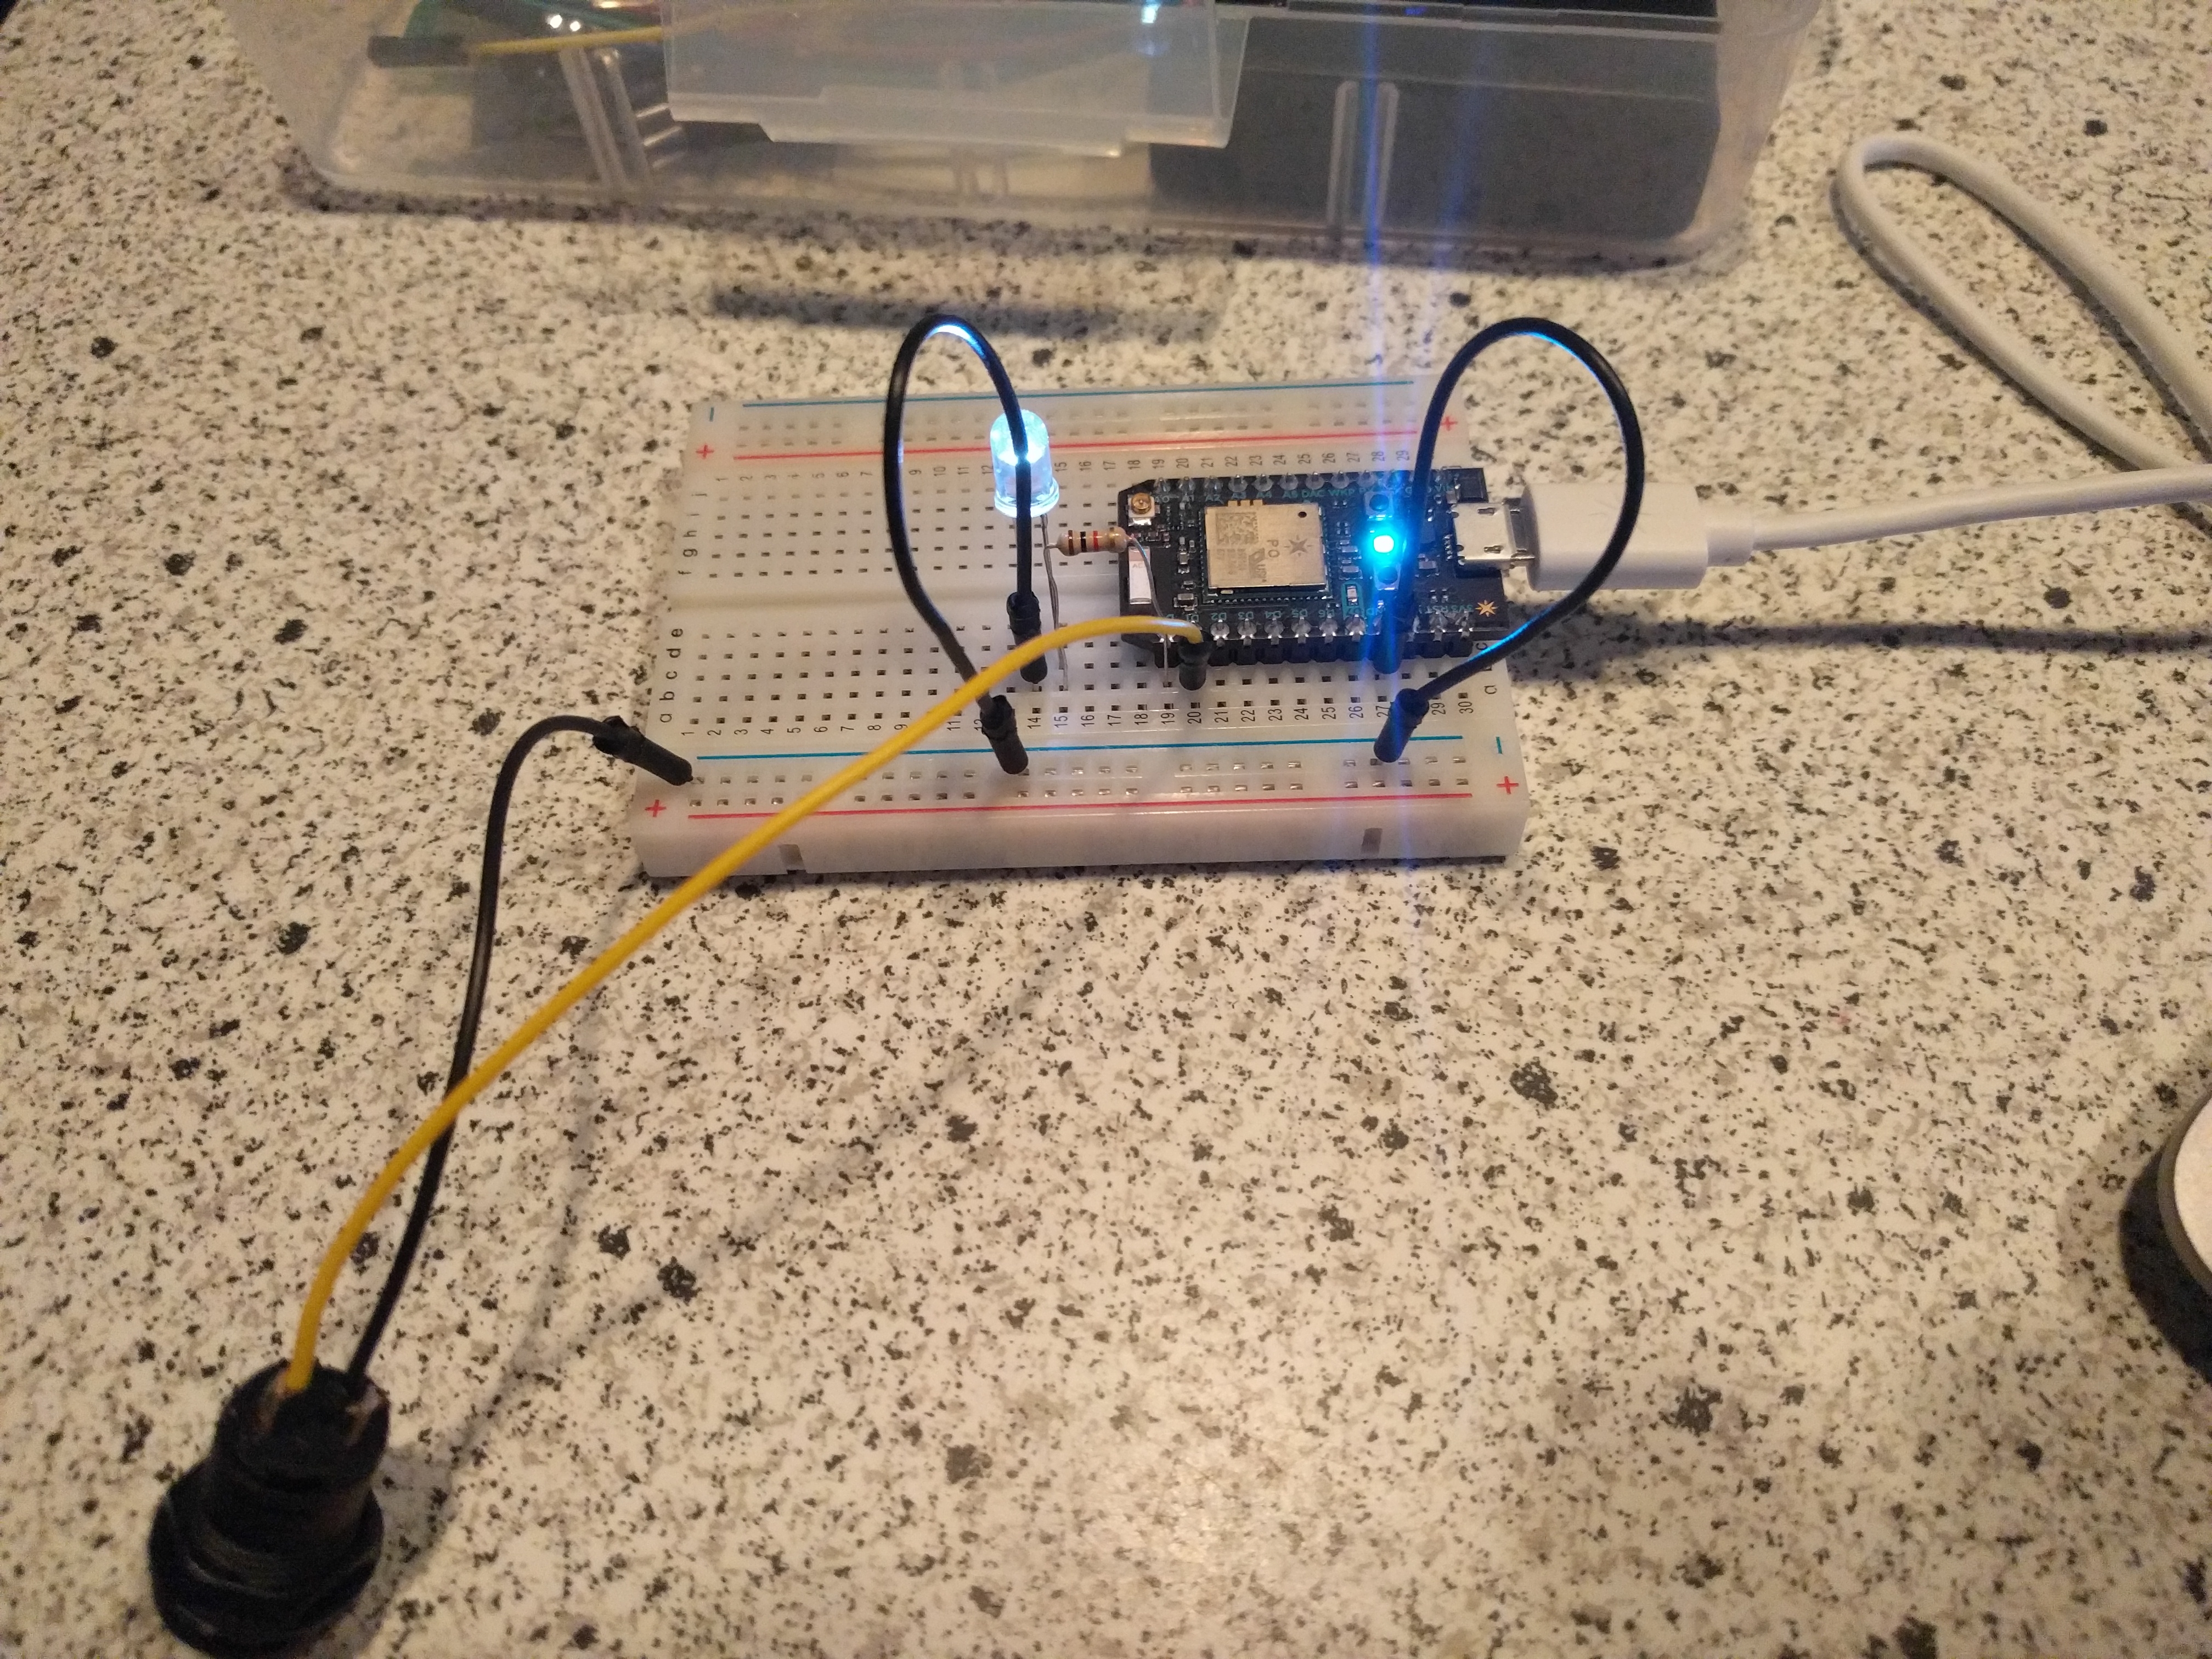
Next, I wired up a simple push button switch and used that to control my LED.  This switch would let toggle diffusing options between intermittent (on for 5 seconds and off for 5 seconds) and constant.

Img 20180127 170350
Show Advanced Options

Step 4:

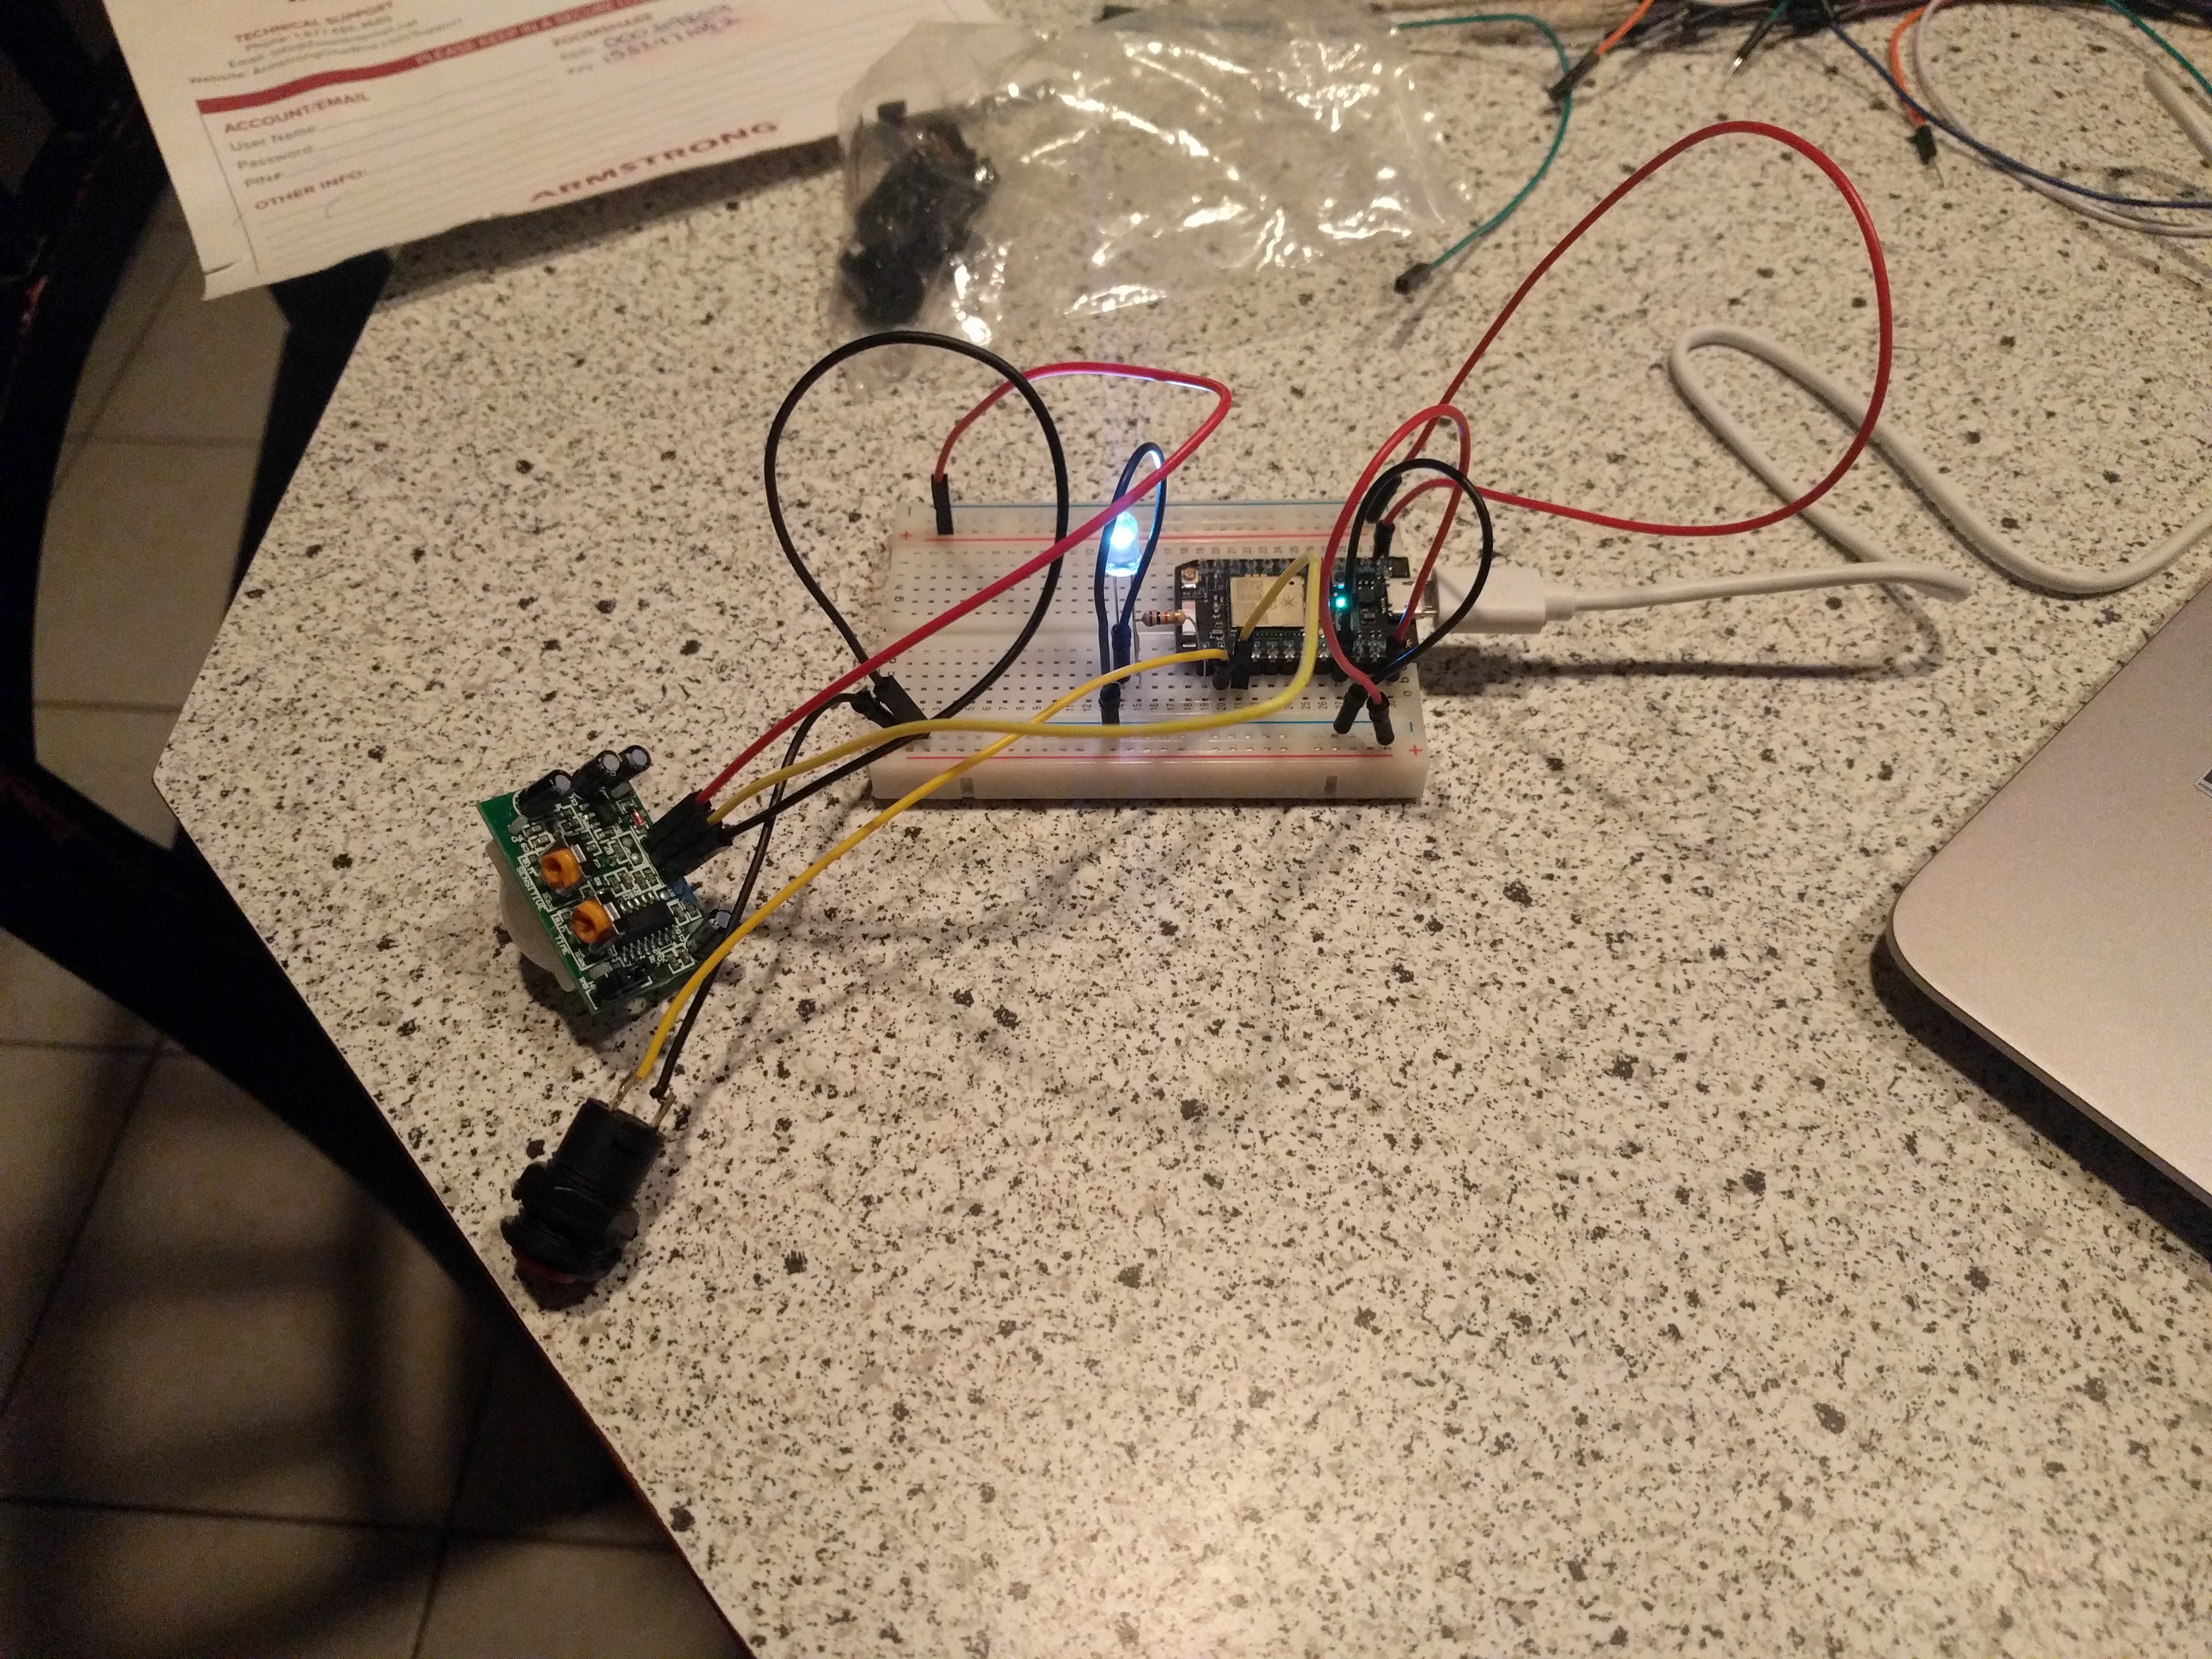
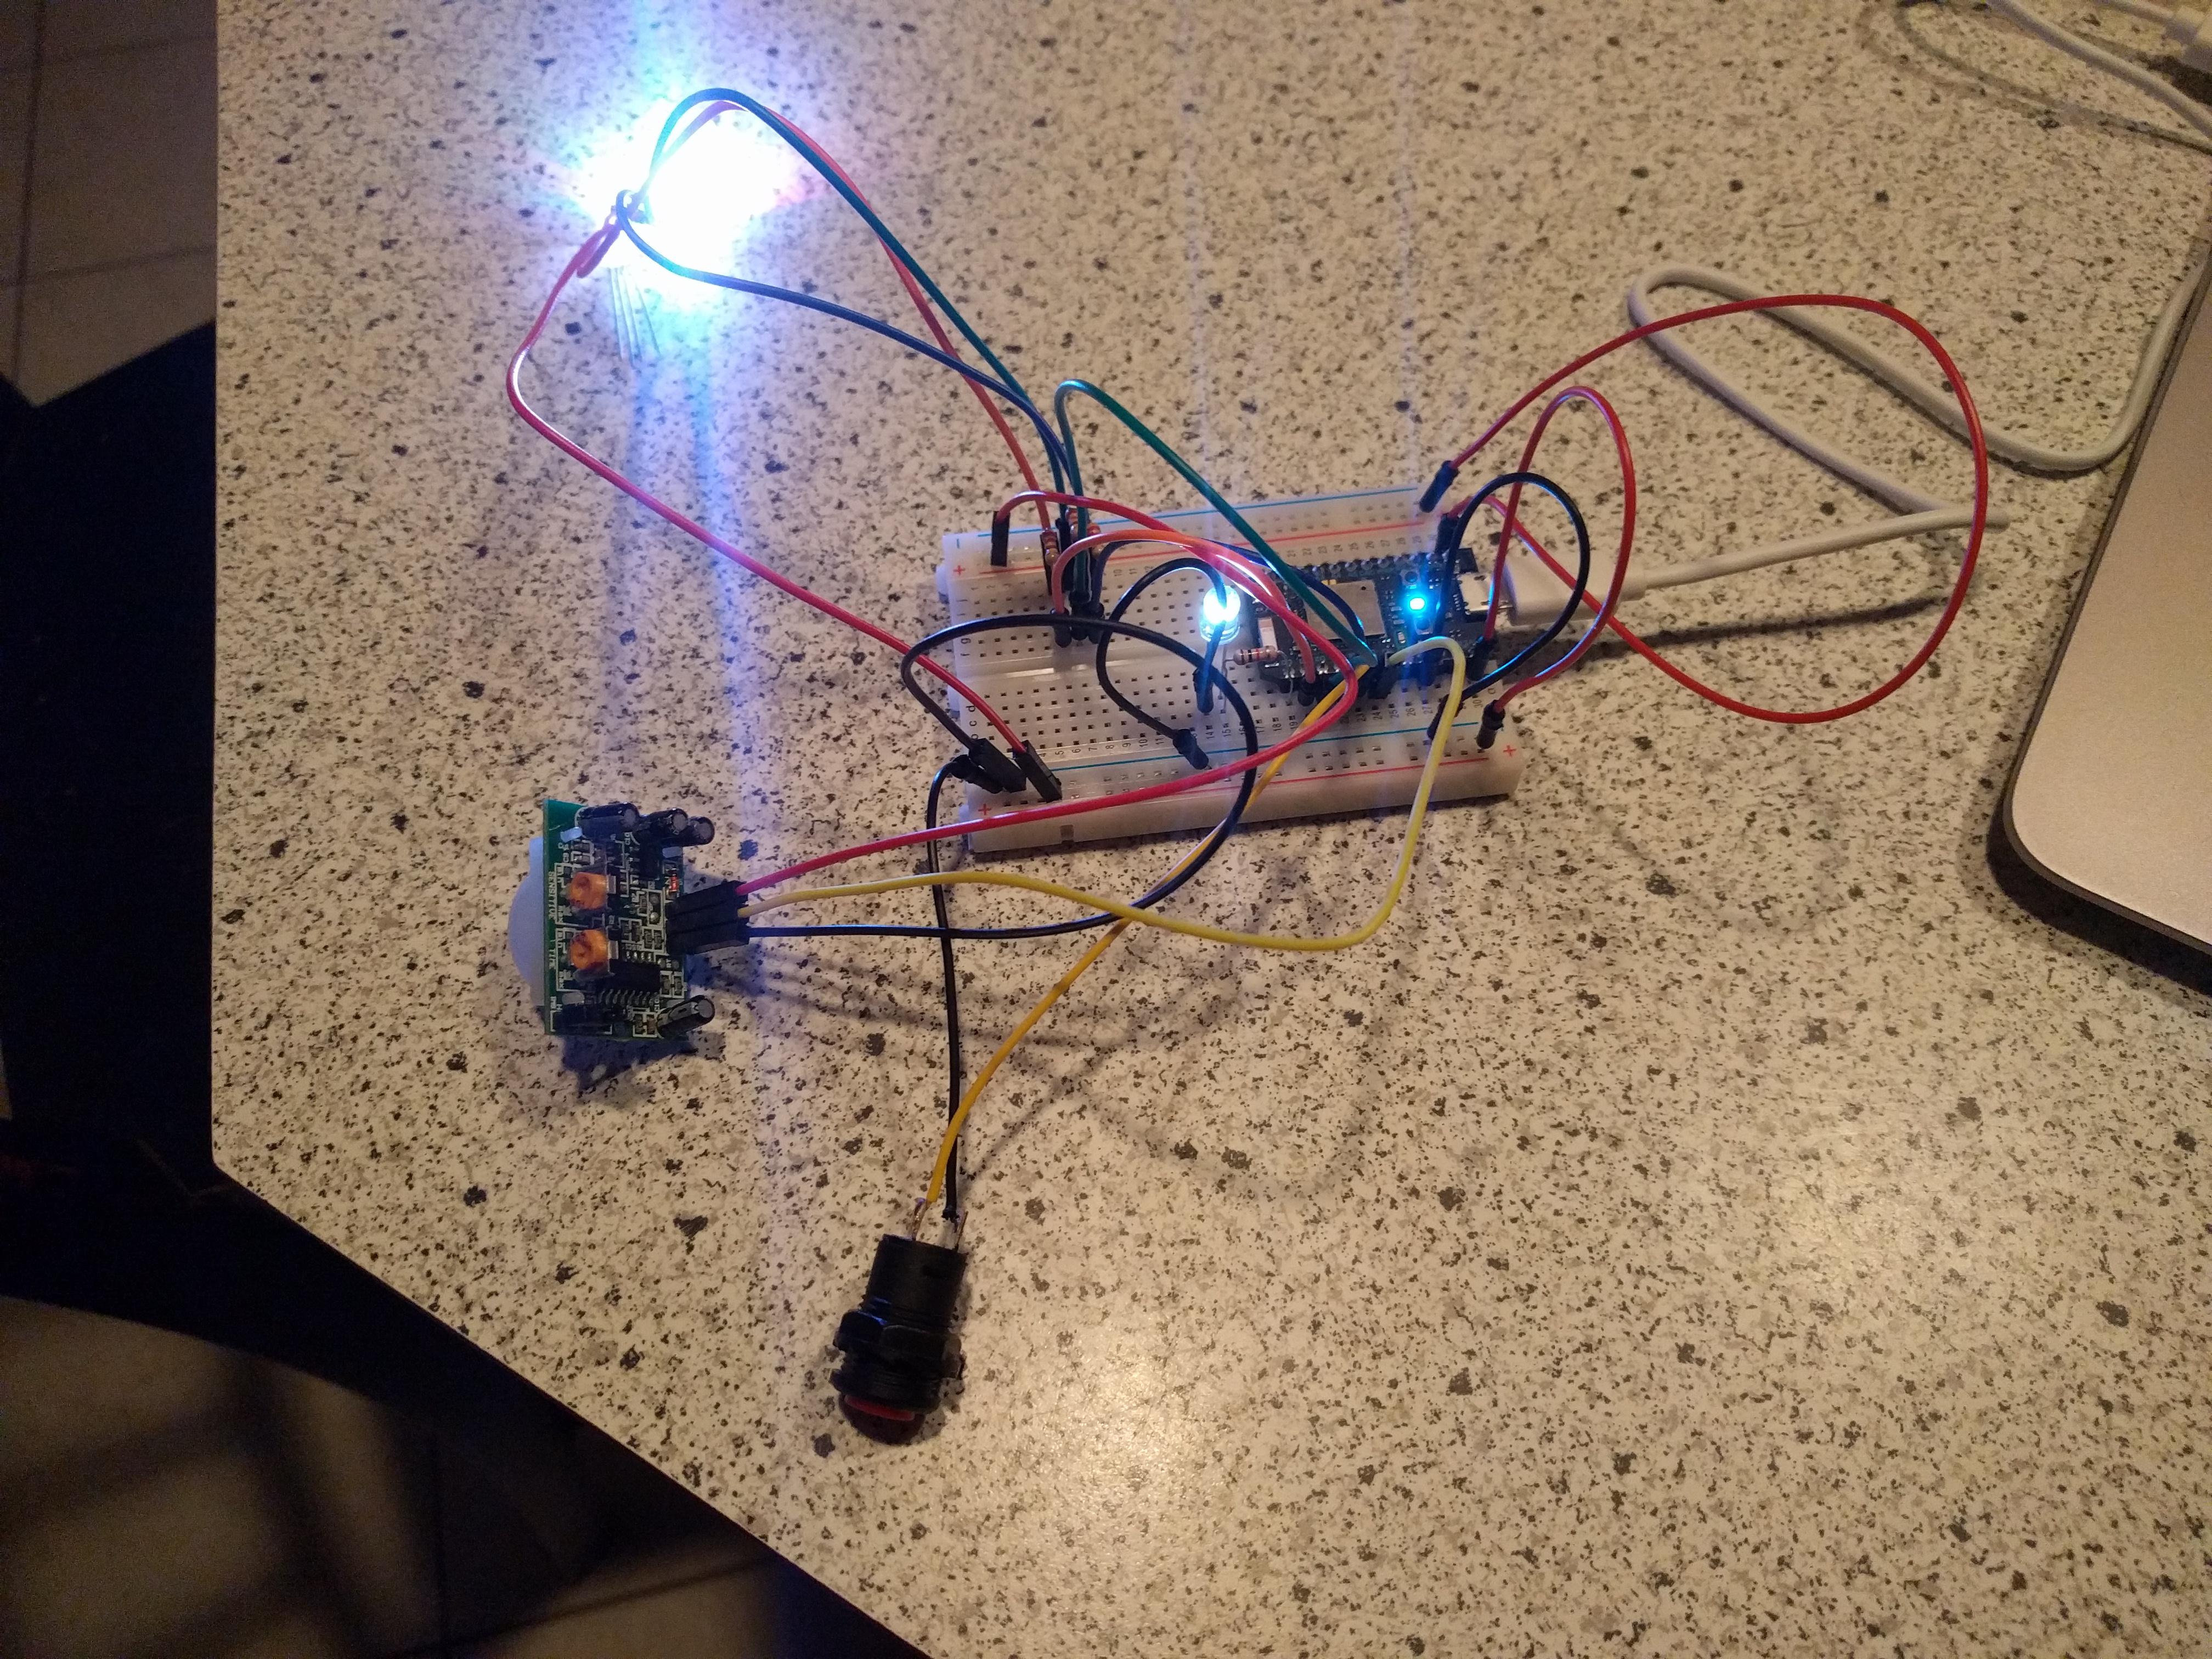
Next, I wired up a PIR motion sensor.  When the sensor is tripped, the diffuser turns on and a timer (20 seconds in the test program, but 30 minutes for the actual product) is triggered.  Once the timer runs out, the diffuser shuts off.  This ensures that the diffuser is on when there is someone present in the room (don't want to waste those expensive oils). 

I had a few issues with this step.  My sensor was alternating between the HIGH and LOW state even though there was no motion.  It took me hours to realize that I had mistakenly plugged the sensor into the 3.3V pin and not the 5V VIN pin.  I won't make that mistake again. 

Img 20180127 213030 %281%29
Show Advanced Options

Step 5:

For the next step, I wired up a RGB LED and tested it to make sure that I could turn it on, off, and change its color.  This RGB LED would serve as a fluid level indicator.

Img 20180127 223045
Show Advanced Options

Step 6:

Next, I wired up the fluid level sensor and wrote a program to convert the resistance measured in the sensor to the volume of container of fluid that it is submersed in.  If the fluid is full, the indicator LED will glow a soft yellow and the diffuser will operate normally.  However, if the fluid level is depleted to less than 10%, the indicator light will glow red and the diffuser will shut itself off and will not not turn back on until the fluid levels are returned to full.

Img 20180130 030802
Show Advanced Options

Step 7:

Lastly, I enabled the product to publish an event every time that the diffuser turned on.  My intent was to also publish the volume of the fluid as well and create a graph in Google sheets showing a trend line of this data, but since the fluid levels will never change (because it is only an LED and not a diffusor), I decided to try to add this functionality in an upcoming project.  Also, to do this, it looks like I need to use some Javascript JSON commands, which I am not familiar with, but I am willing to try in the coming weeks.

Also, I used IFTTT to log every instance of the diffuser turning on into a Google sheet document.  Attached is a couple hours worth of this data.


Show Advanced Options
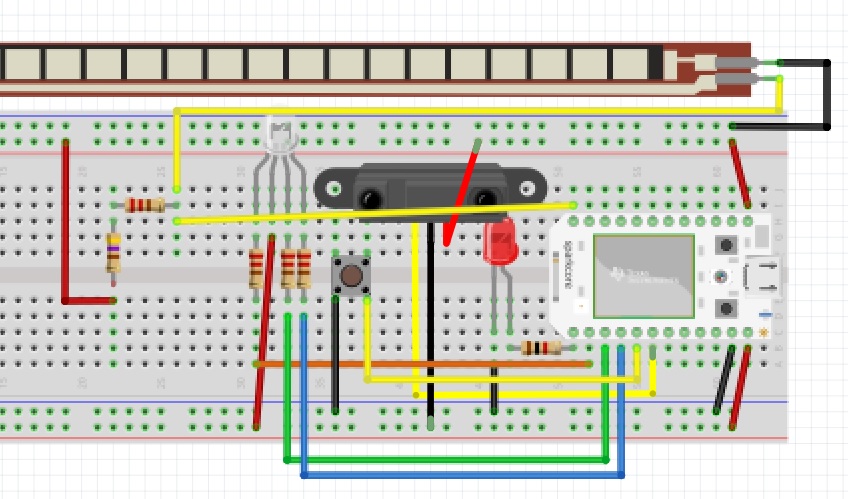
Homehack   wiring diagram
Show Advanced Options

Reflection

I wanted to treat this build as a chance to learn the fundamentals of wiring and writing simple code that I could understand.  Instead of just copying code from other projects where I didn't know what the syntax meant, I wanted to spend some time to truly figure out what was happening.  I am happy with my progress, and I feel that I am ready to start to try incorporating some JSON commands and perhaps including some unique libraries or webhooks in my next project.

Sources:

I used the following sources in producing this project:

Resource for coding fluid level sensor: https://learn.adafruit.com/smart-measuring-cup

Daragh’s site: http://diotlabs.daraghbyrne.me/

IFTTT tutorial: https://community.particle.io/t/beginner-tutorial-ifttt-monitor-a-device-status-trigger/9406

Show Advanced Options
Drop files here or click to select

You can upload files of up to 20MB using this form.