Process
I started the process by researching some similar devices online and identifying some components that I would like to use. I found the sealed DS18B20 sensor in the maker kit and started building around that.
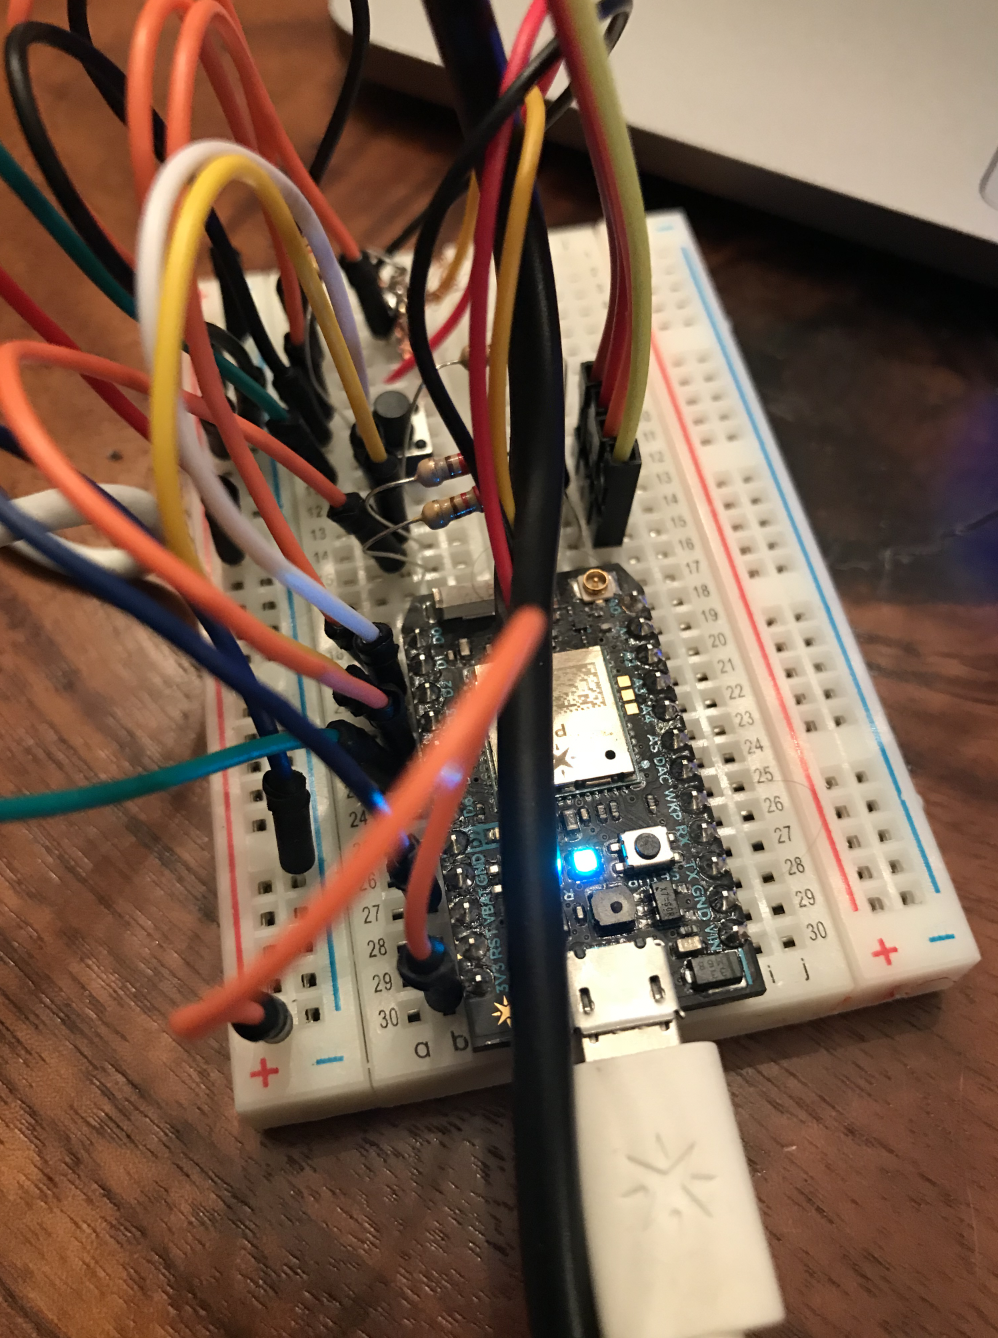
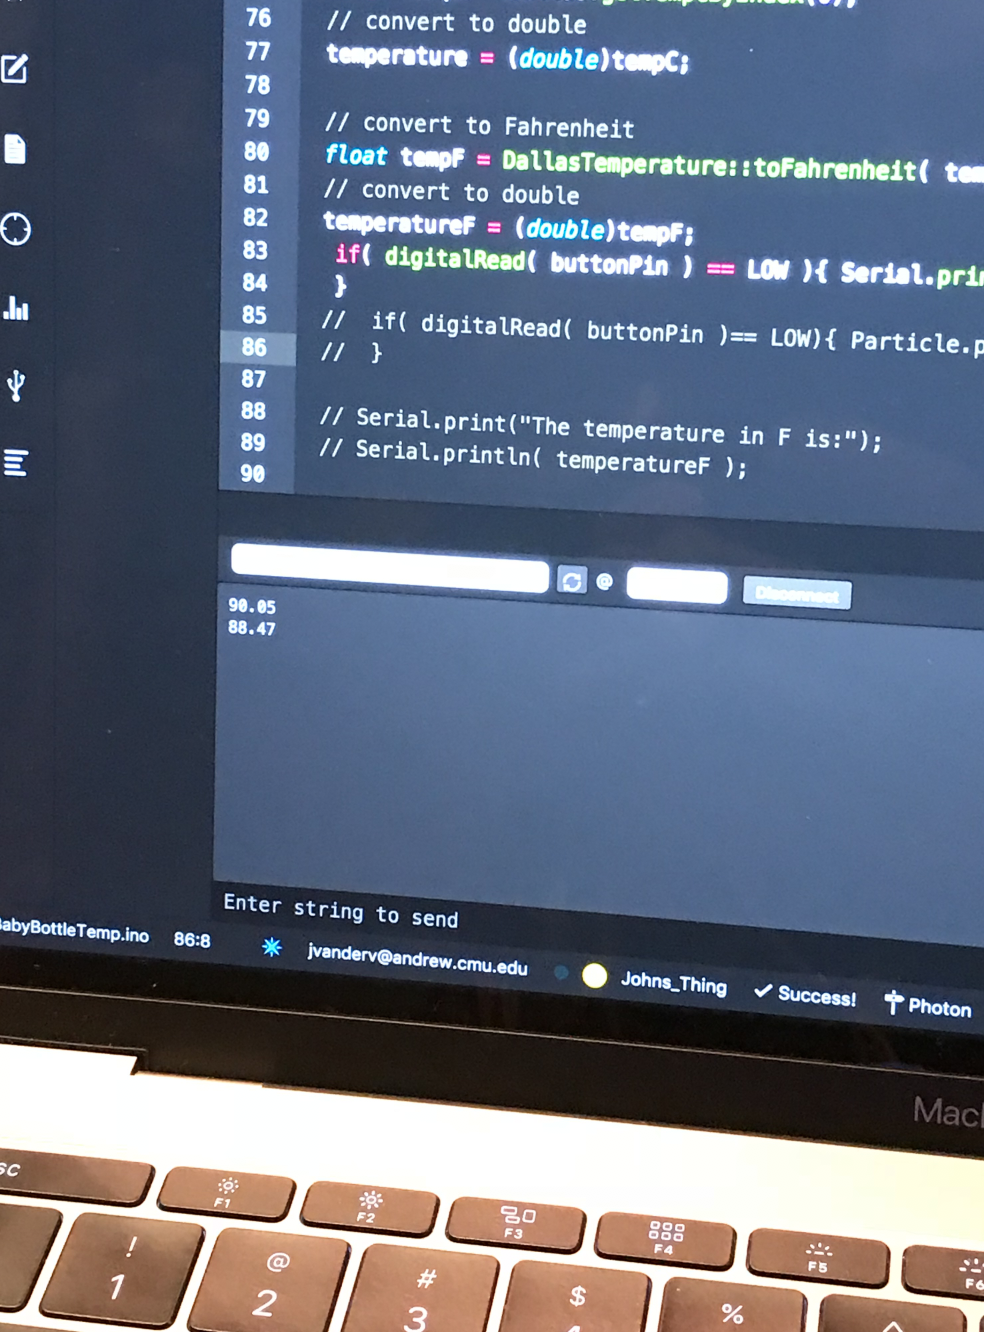
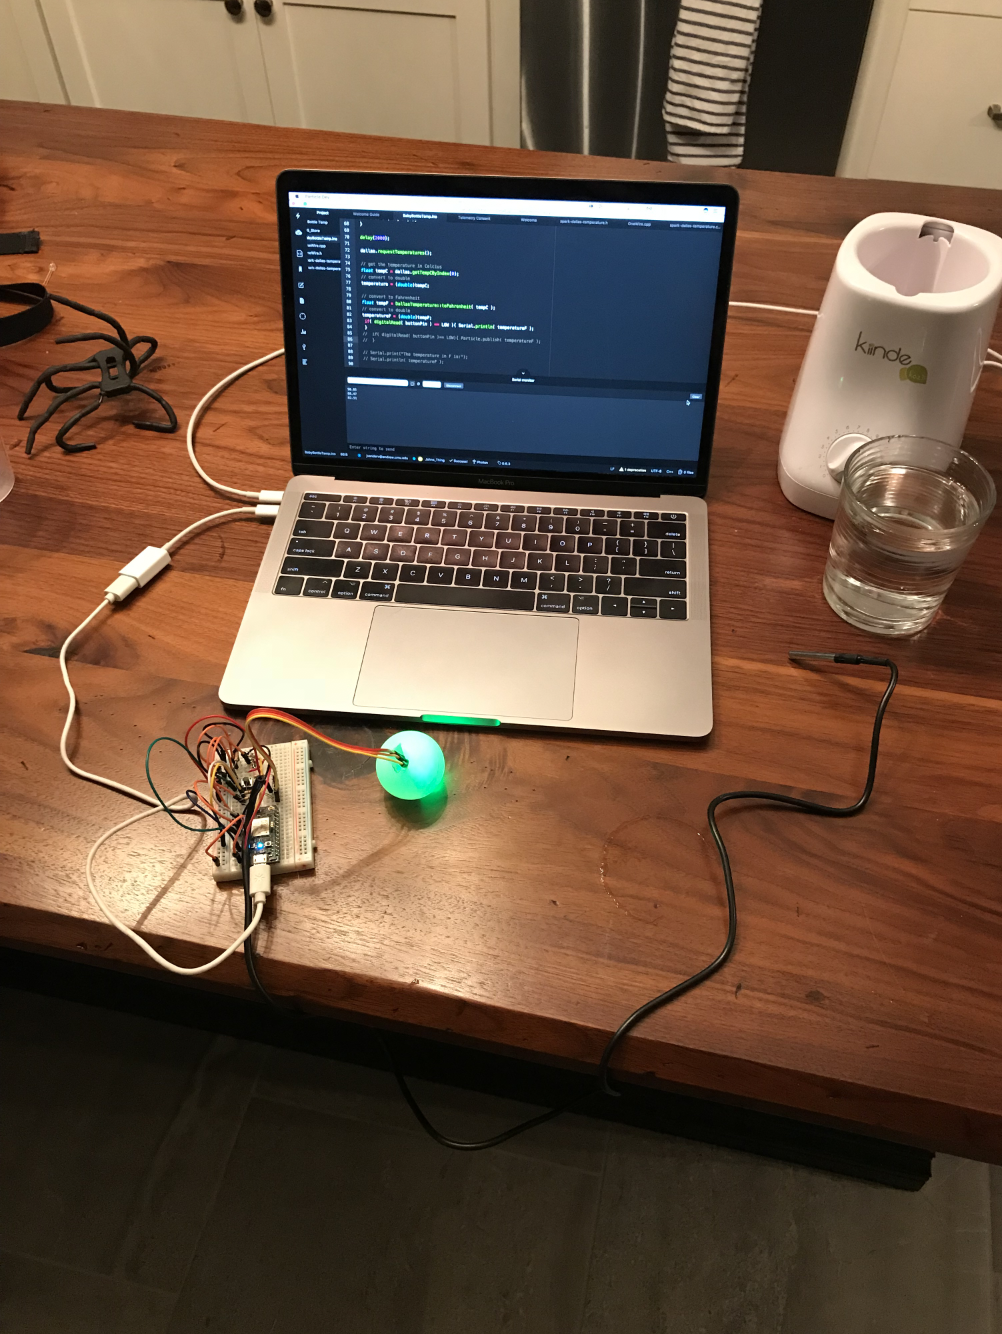
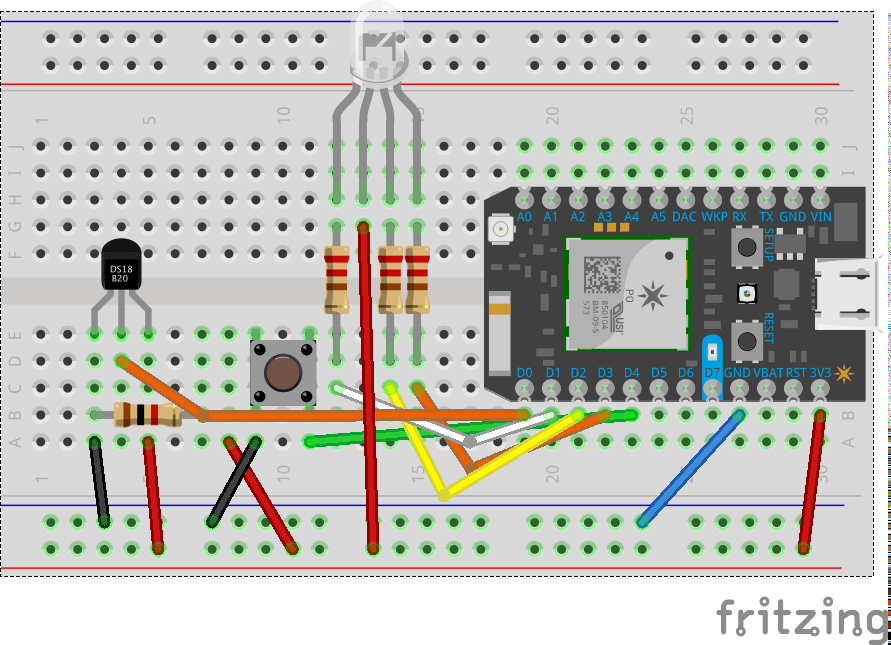
I used Daragh's tutorial on the DS18B20 as my starting point. This involved creating a circuit on the breadboard, as well as downloading some libraries for the code to pull from and writing some preliminary code. By the end of this step, I had my sensor working and was able to see the temperature in Fahrenheit and Celsius register as cloud variables.
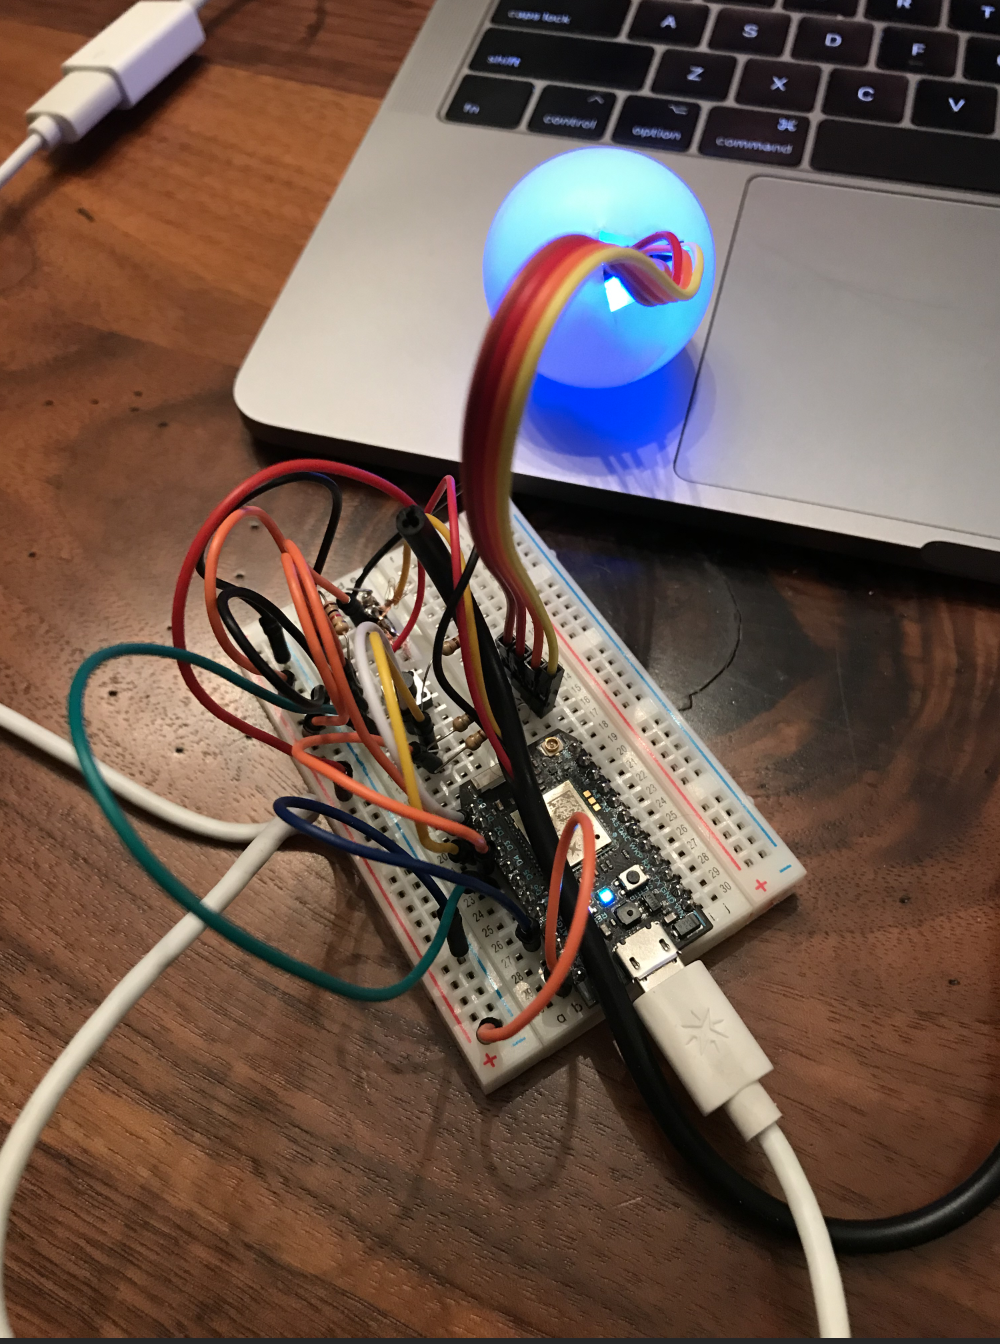
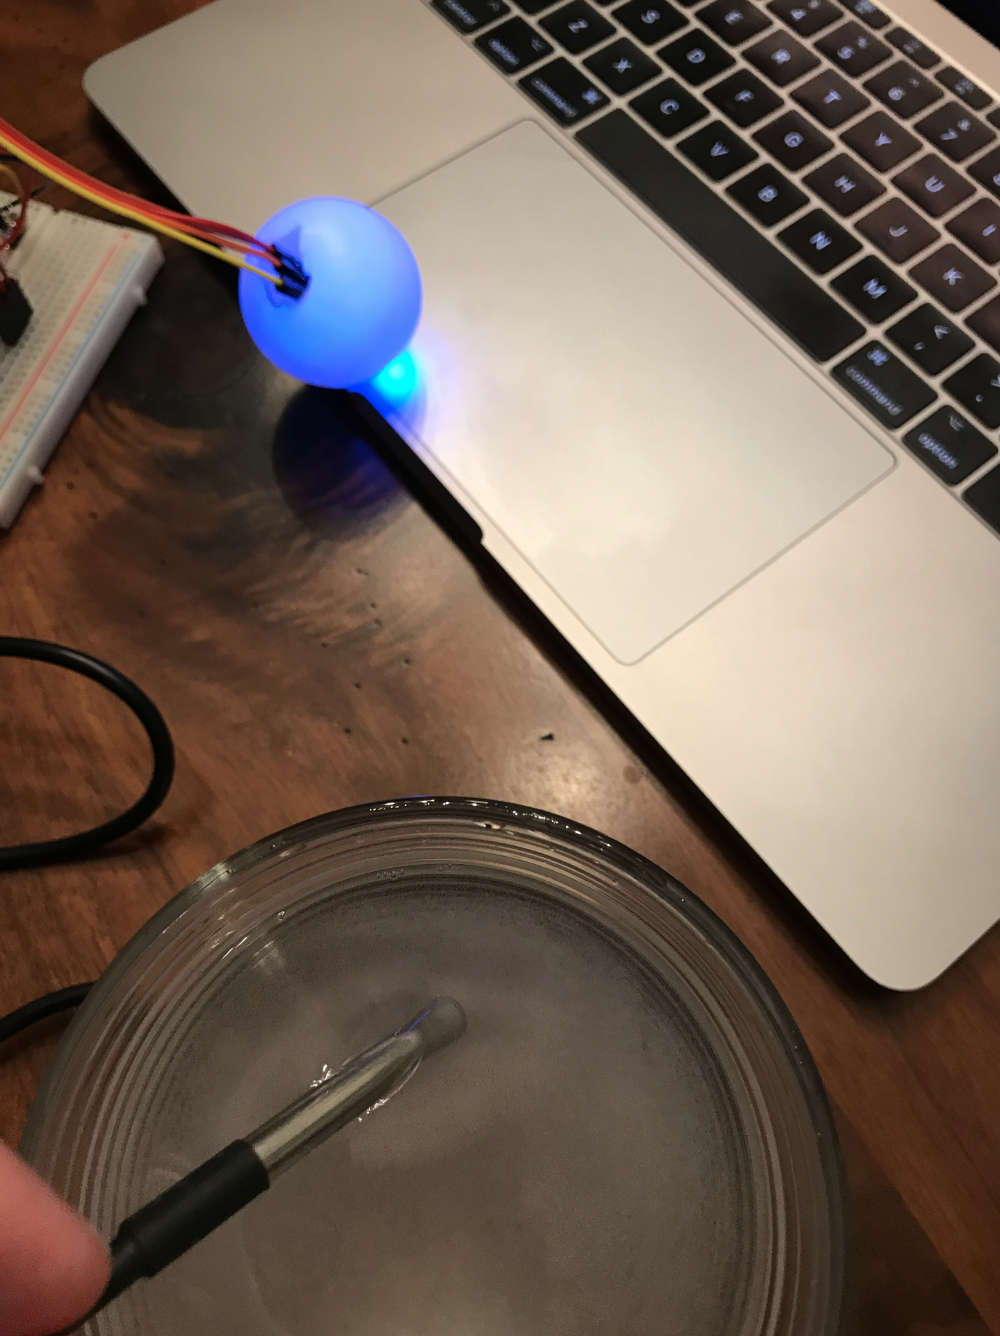
Next, I added the RGB LED to my breadboard and added the appropriate resistors and jumpers. It took me quite a long time to get it working and wrote some code to test it, instructing it to constantly power on with a white light. I couldn't get it to work and after many attempts, I accidentally switched leads and the LED lit up red. I realized that I might have the wrong type of LED and swapped it out. Finally, I had success. I then copied the code from Daragh's workshop and ran the light through the different colors to make sure it worked.
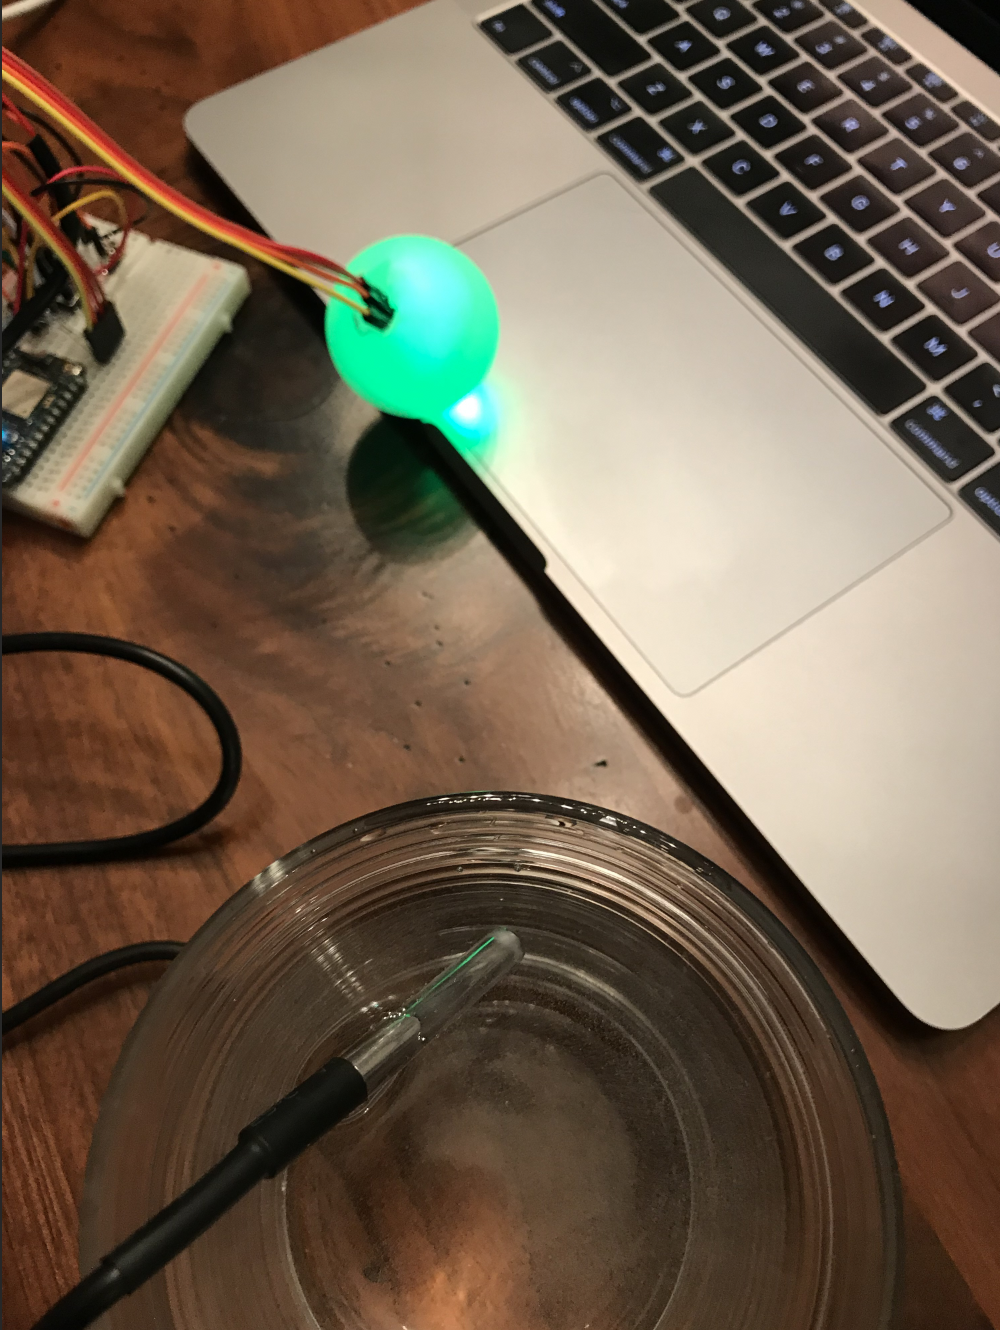
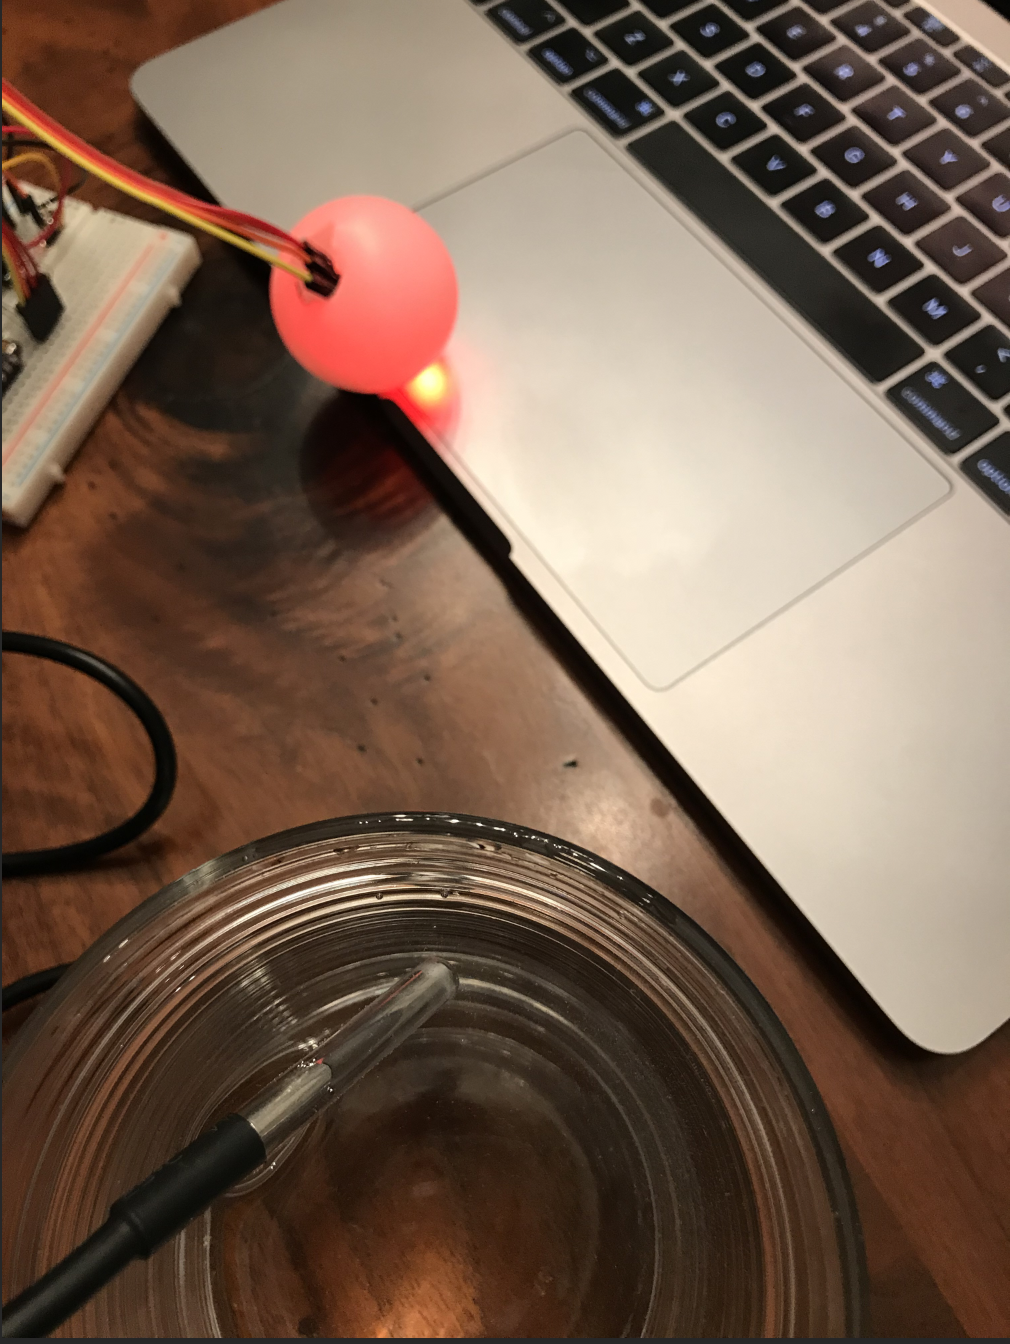
I then, with the help of my classmate Mark Davidson, wrote some if and if else statements to set the LED to Blue for temperatures less than 95 F (too cold), Green for 95 to 105 F (just right), and red for over 105 F (too hot). Finally, I added a switch and some code to make it light yellow when pressed and print the temperature to the serial log. This was added in case the perfect temperature was found and the user wanted to check it.
