

49-713 Designing for the Internet of Things
· 26 members
A hands-on introductory course exploring the Internet of Things and connected product experiences.
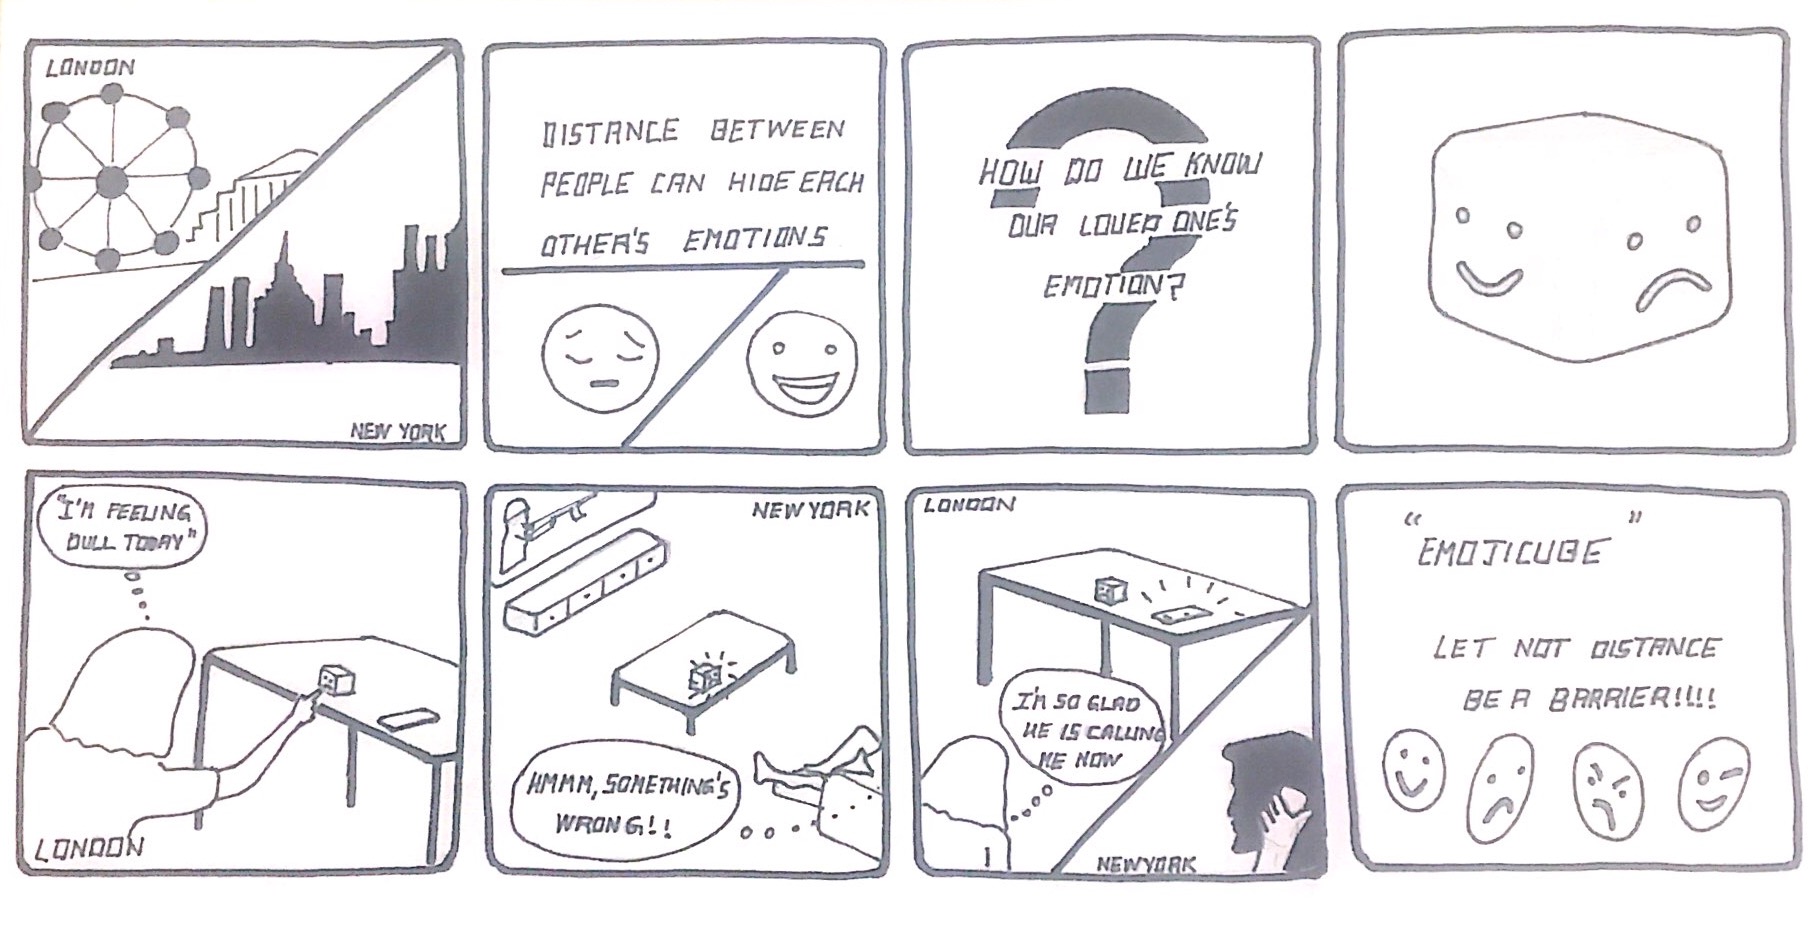
The idea behind this project is to enhance an intimate relationship between two people when they are not currently in the same location. It will keep them updated on each other's emotional state throughout the day, so that they feel more involved in their everyday activities and can take action if the other person is going through a rough period. This concept was developed based on some initial research that stated an integral part of a long distance relationship is still being apart of the other person's everyday life and activities.
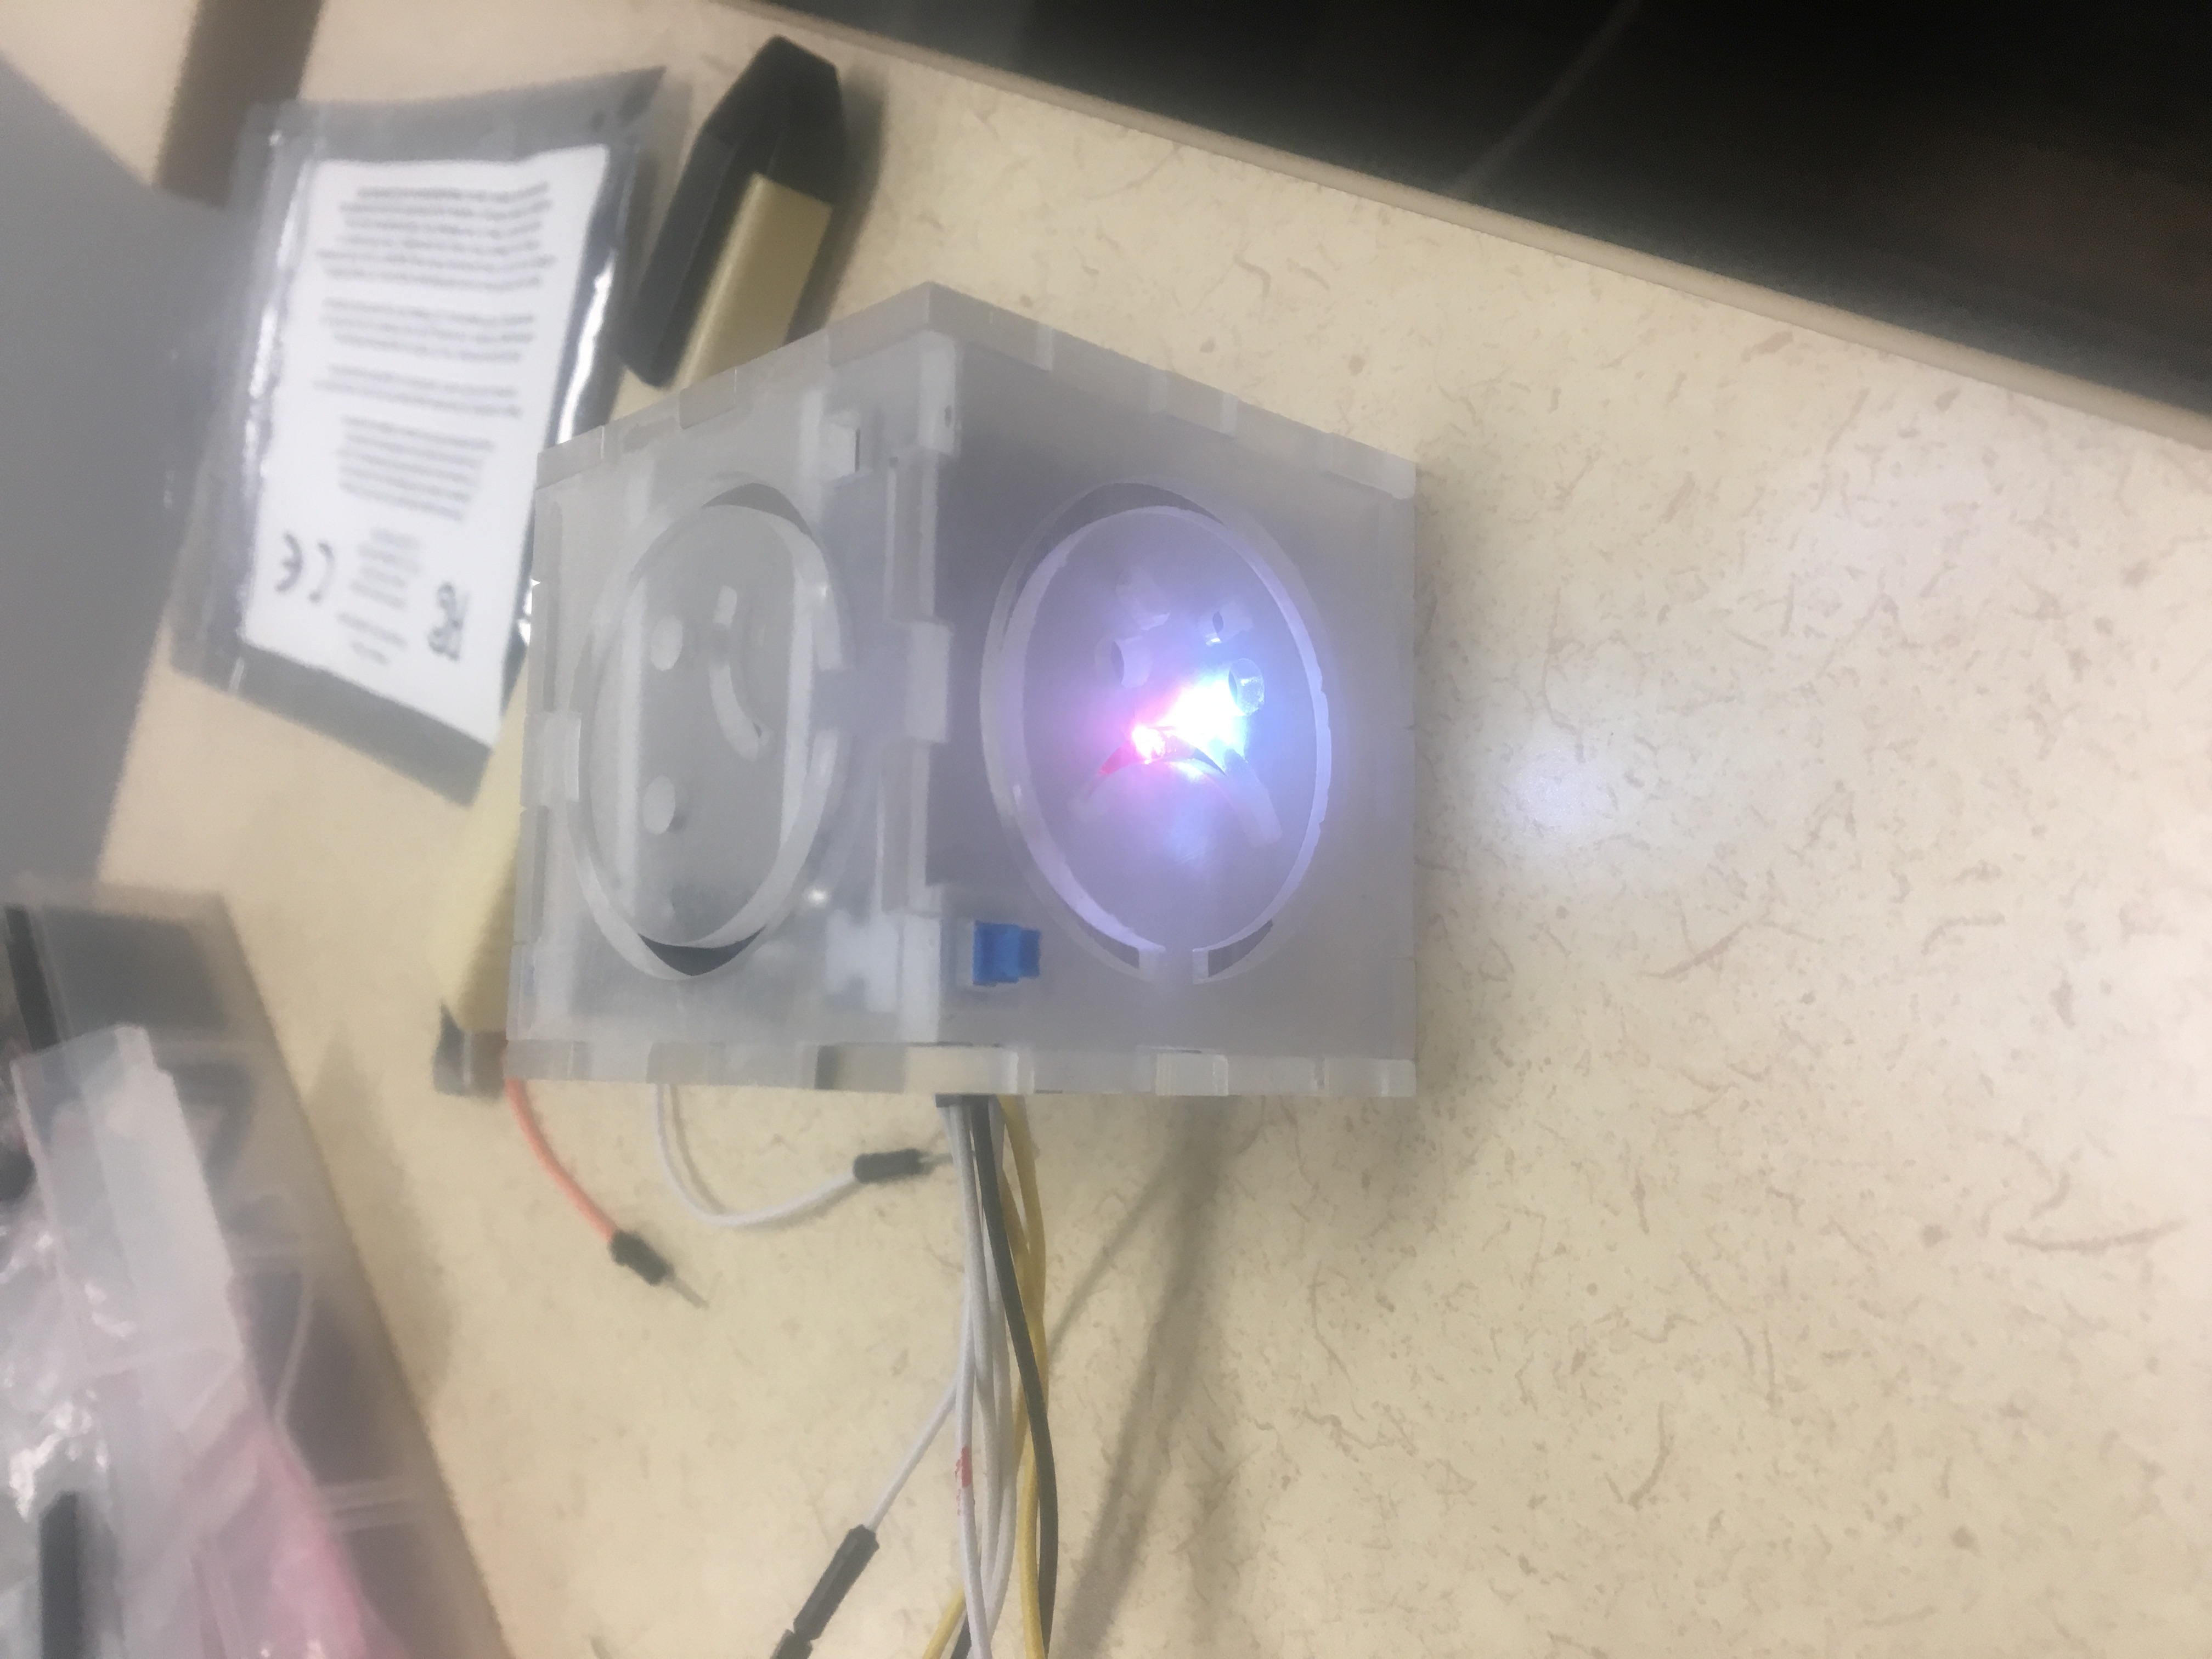
The Emotional Update is two paired cubes with different emotions on each side of the cube. The cube can be easily carried throughout the day and fits easily into a person's hand. Whenever one person experiences an emotion, they will push a button on the face of the cube that best displays their current emotional state and the other person's cube will light up the side of their cube that matches the emotion of the first person. They can update their emotions throughout the day and feel more involved in each other's day or have something to talk about at the end of the day.
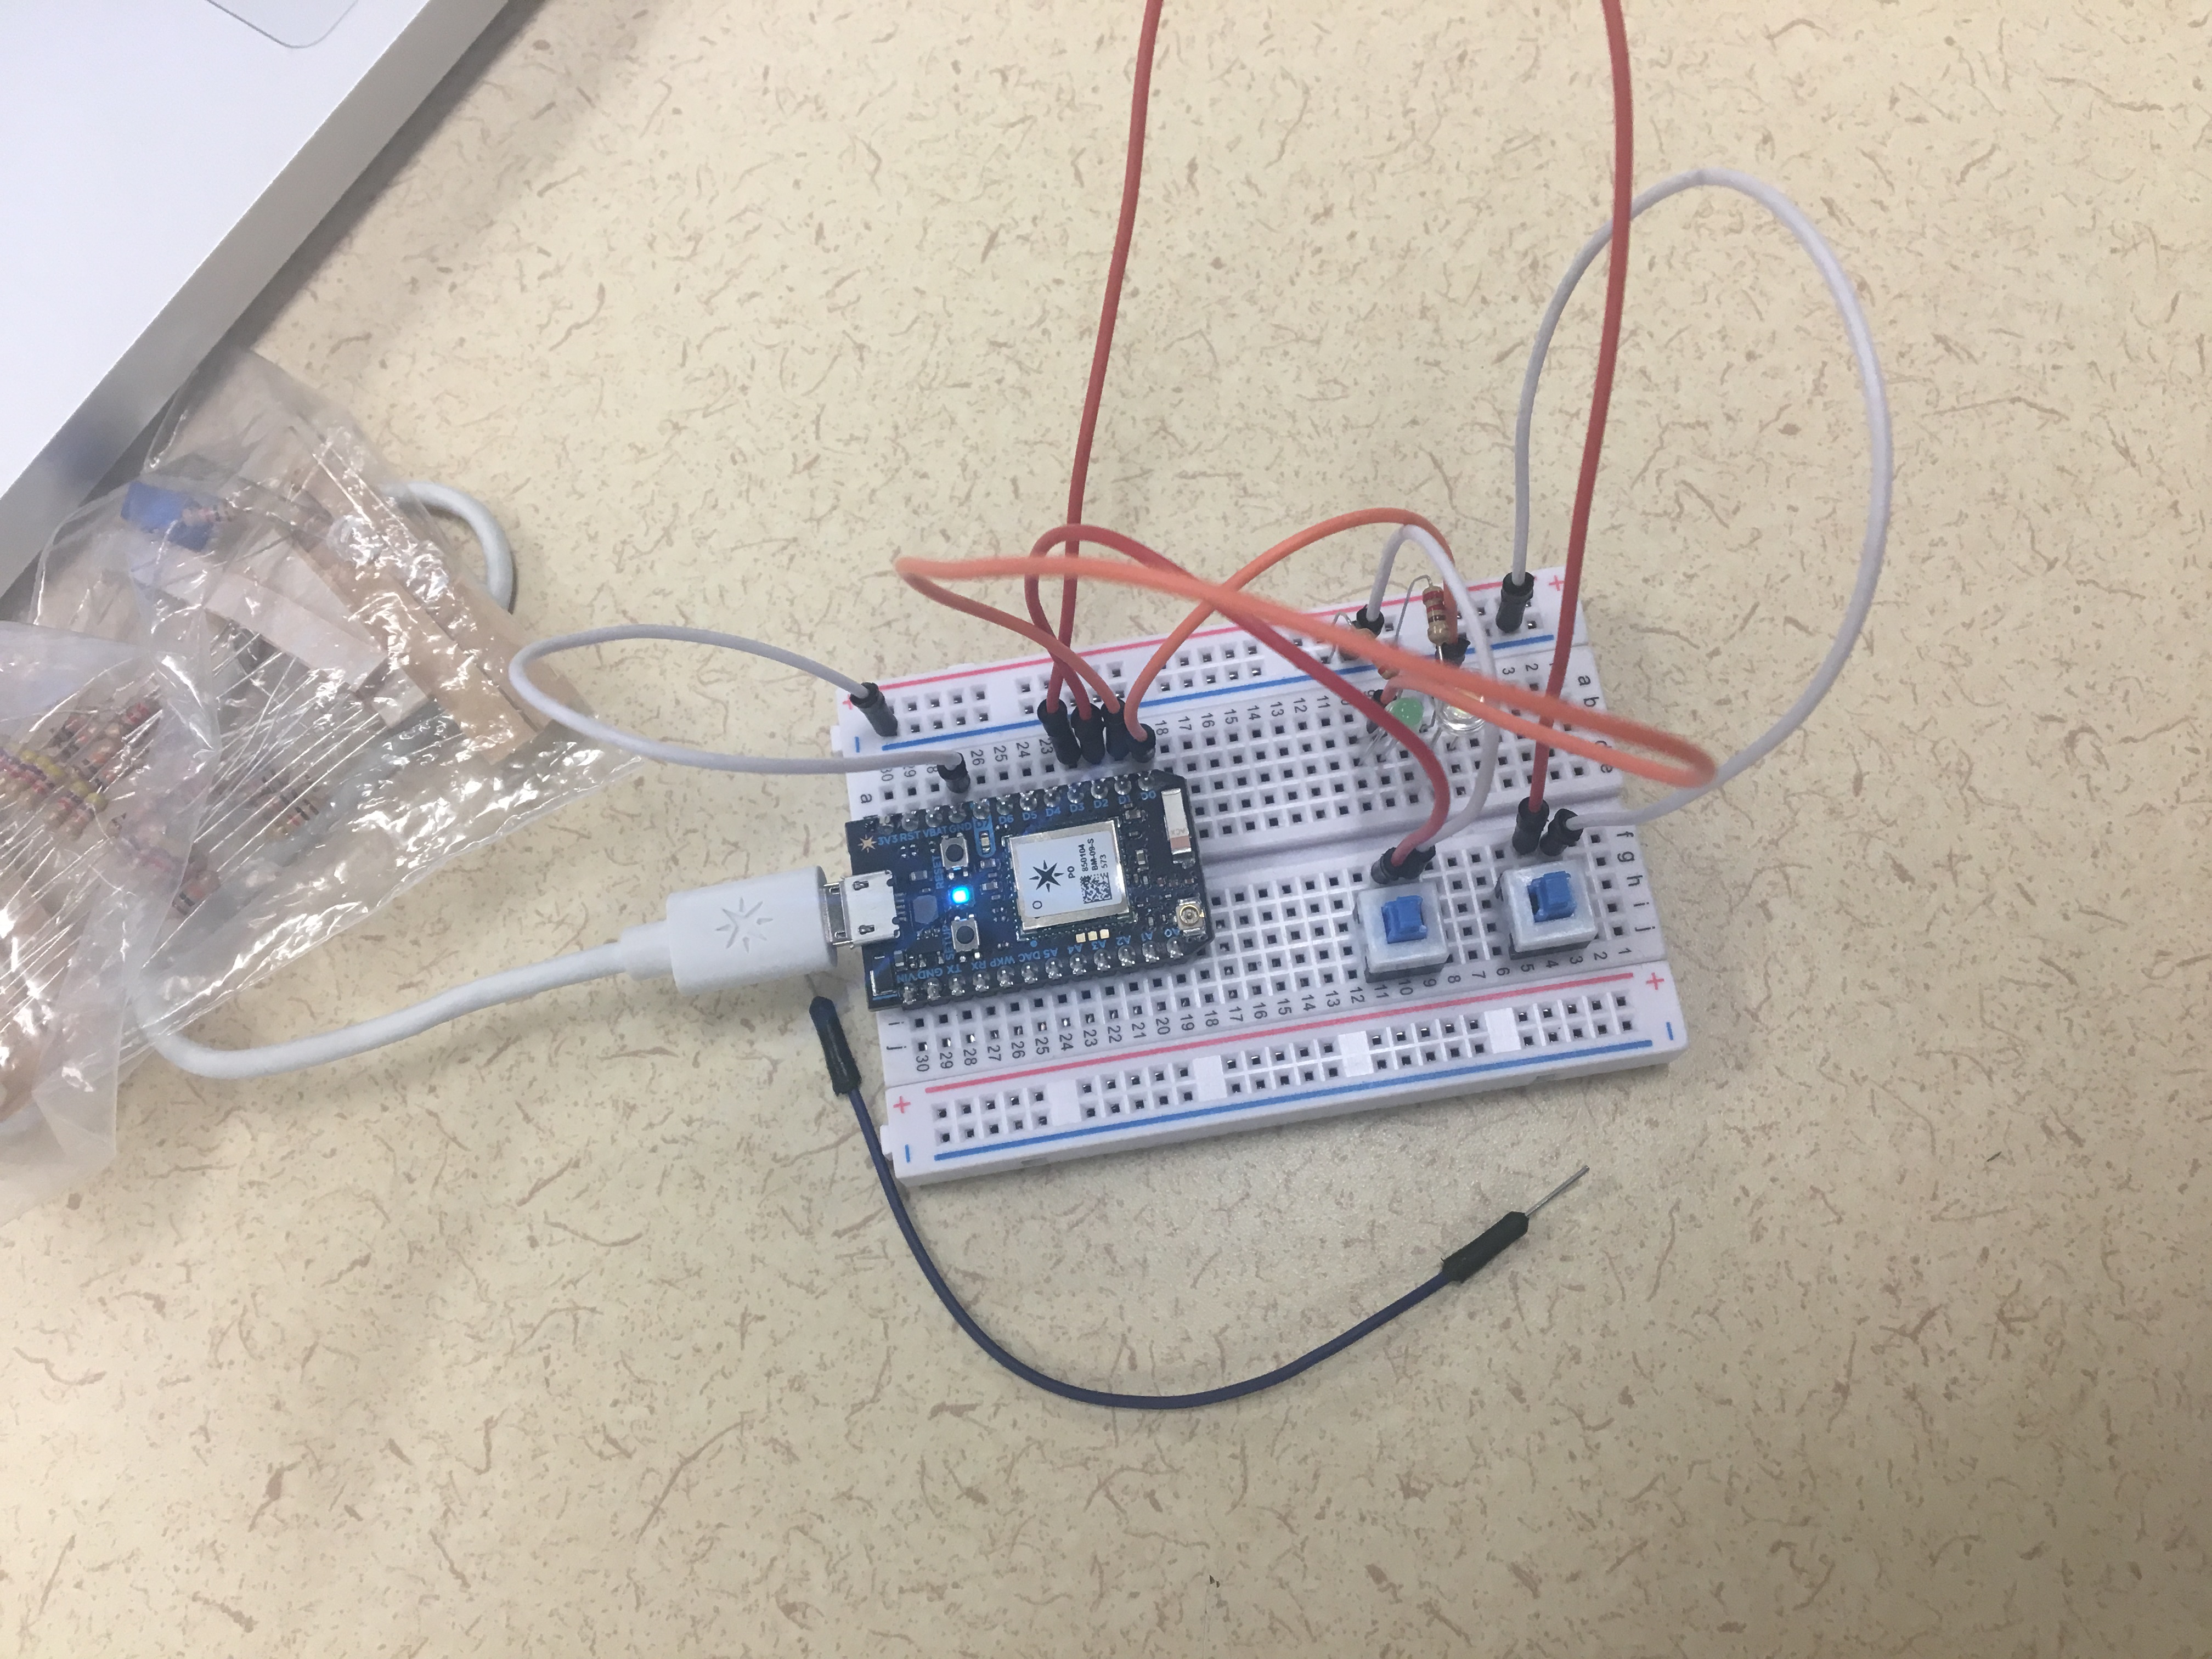
For this initial stage of the prototype, there are only two emotions that can be displayed: happy or angry. This was just to get the initial concept working. There are only two push buttons and two LEDs on each cube. When one person pushes the happy push button on their cube, the other person's happy face will light up with a yellow light. Or when the angry button is pushed, a red light will display on the other person's cube.
Eventually, there would be six different emotions for every face of the cube with different push buttons and LED colors for each.
This can be used for a couple in a long distance relationship or between family members that are not living in the same place anymore.
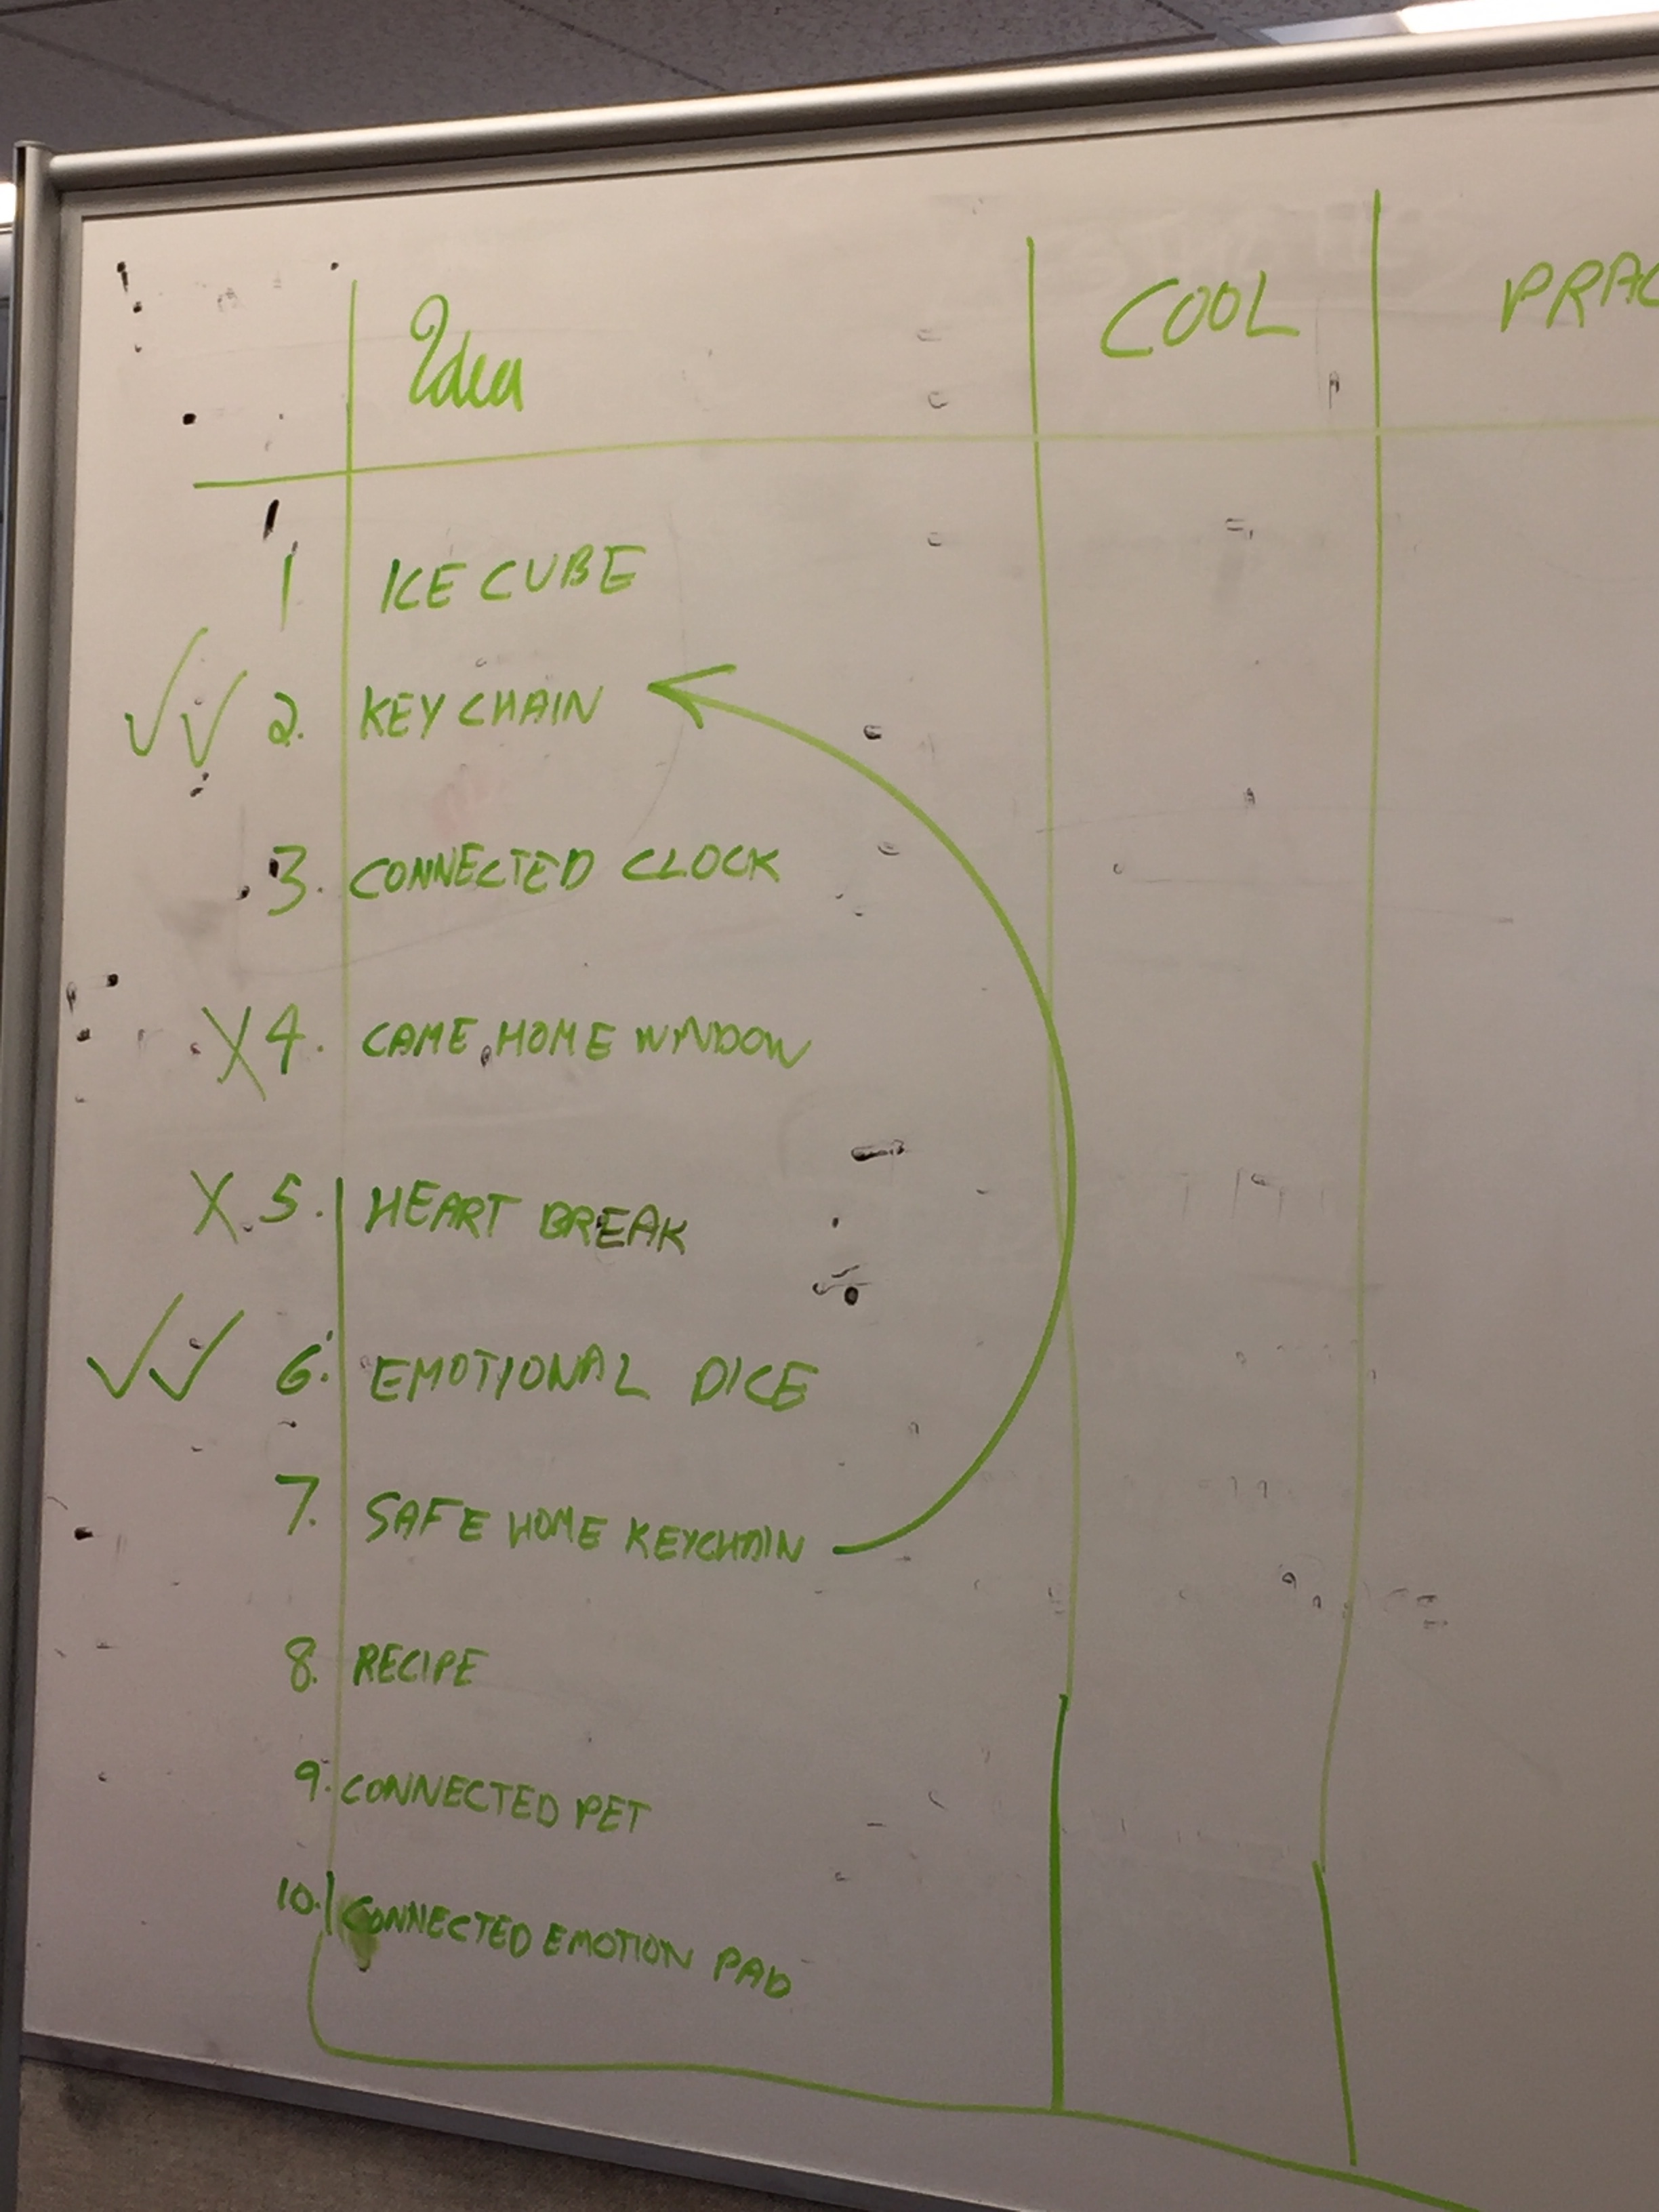
- Brainstorm concept
- Choose final concept
- Laser cut the emotion cubes
- Work on code to get the LEDs working properly
- Write the code to get the desired LED to display when the push button is pushed
- Write the code to push the button on one board and have the desired LED light up on the other board through events
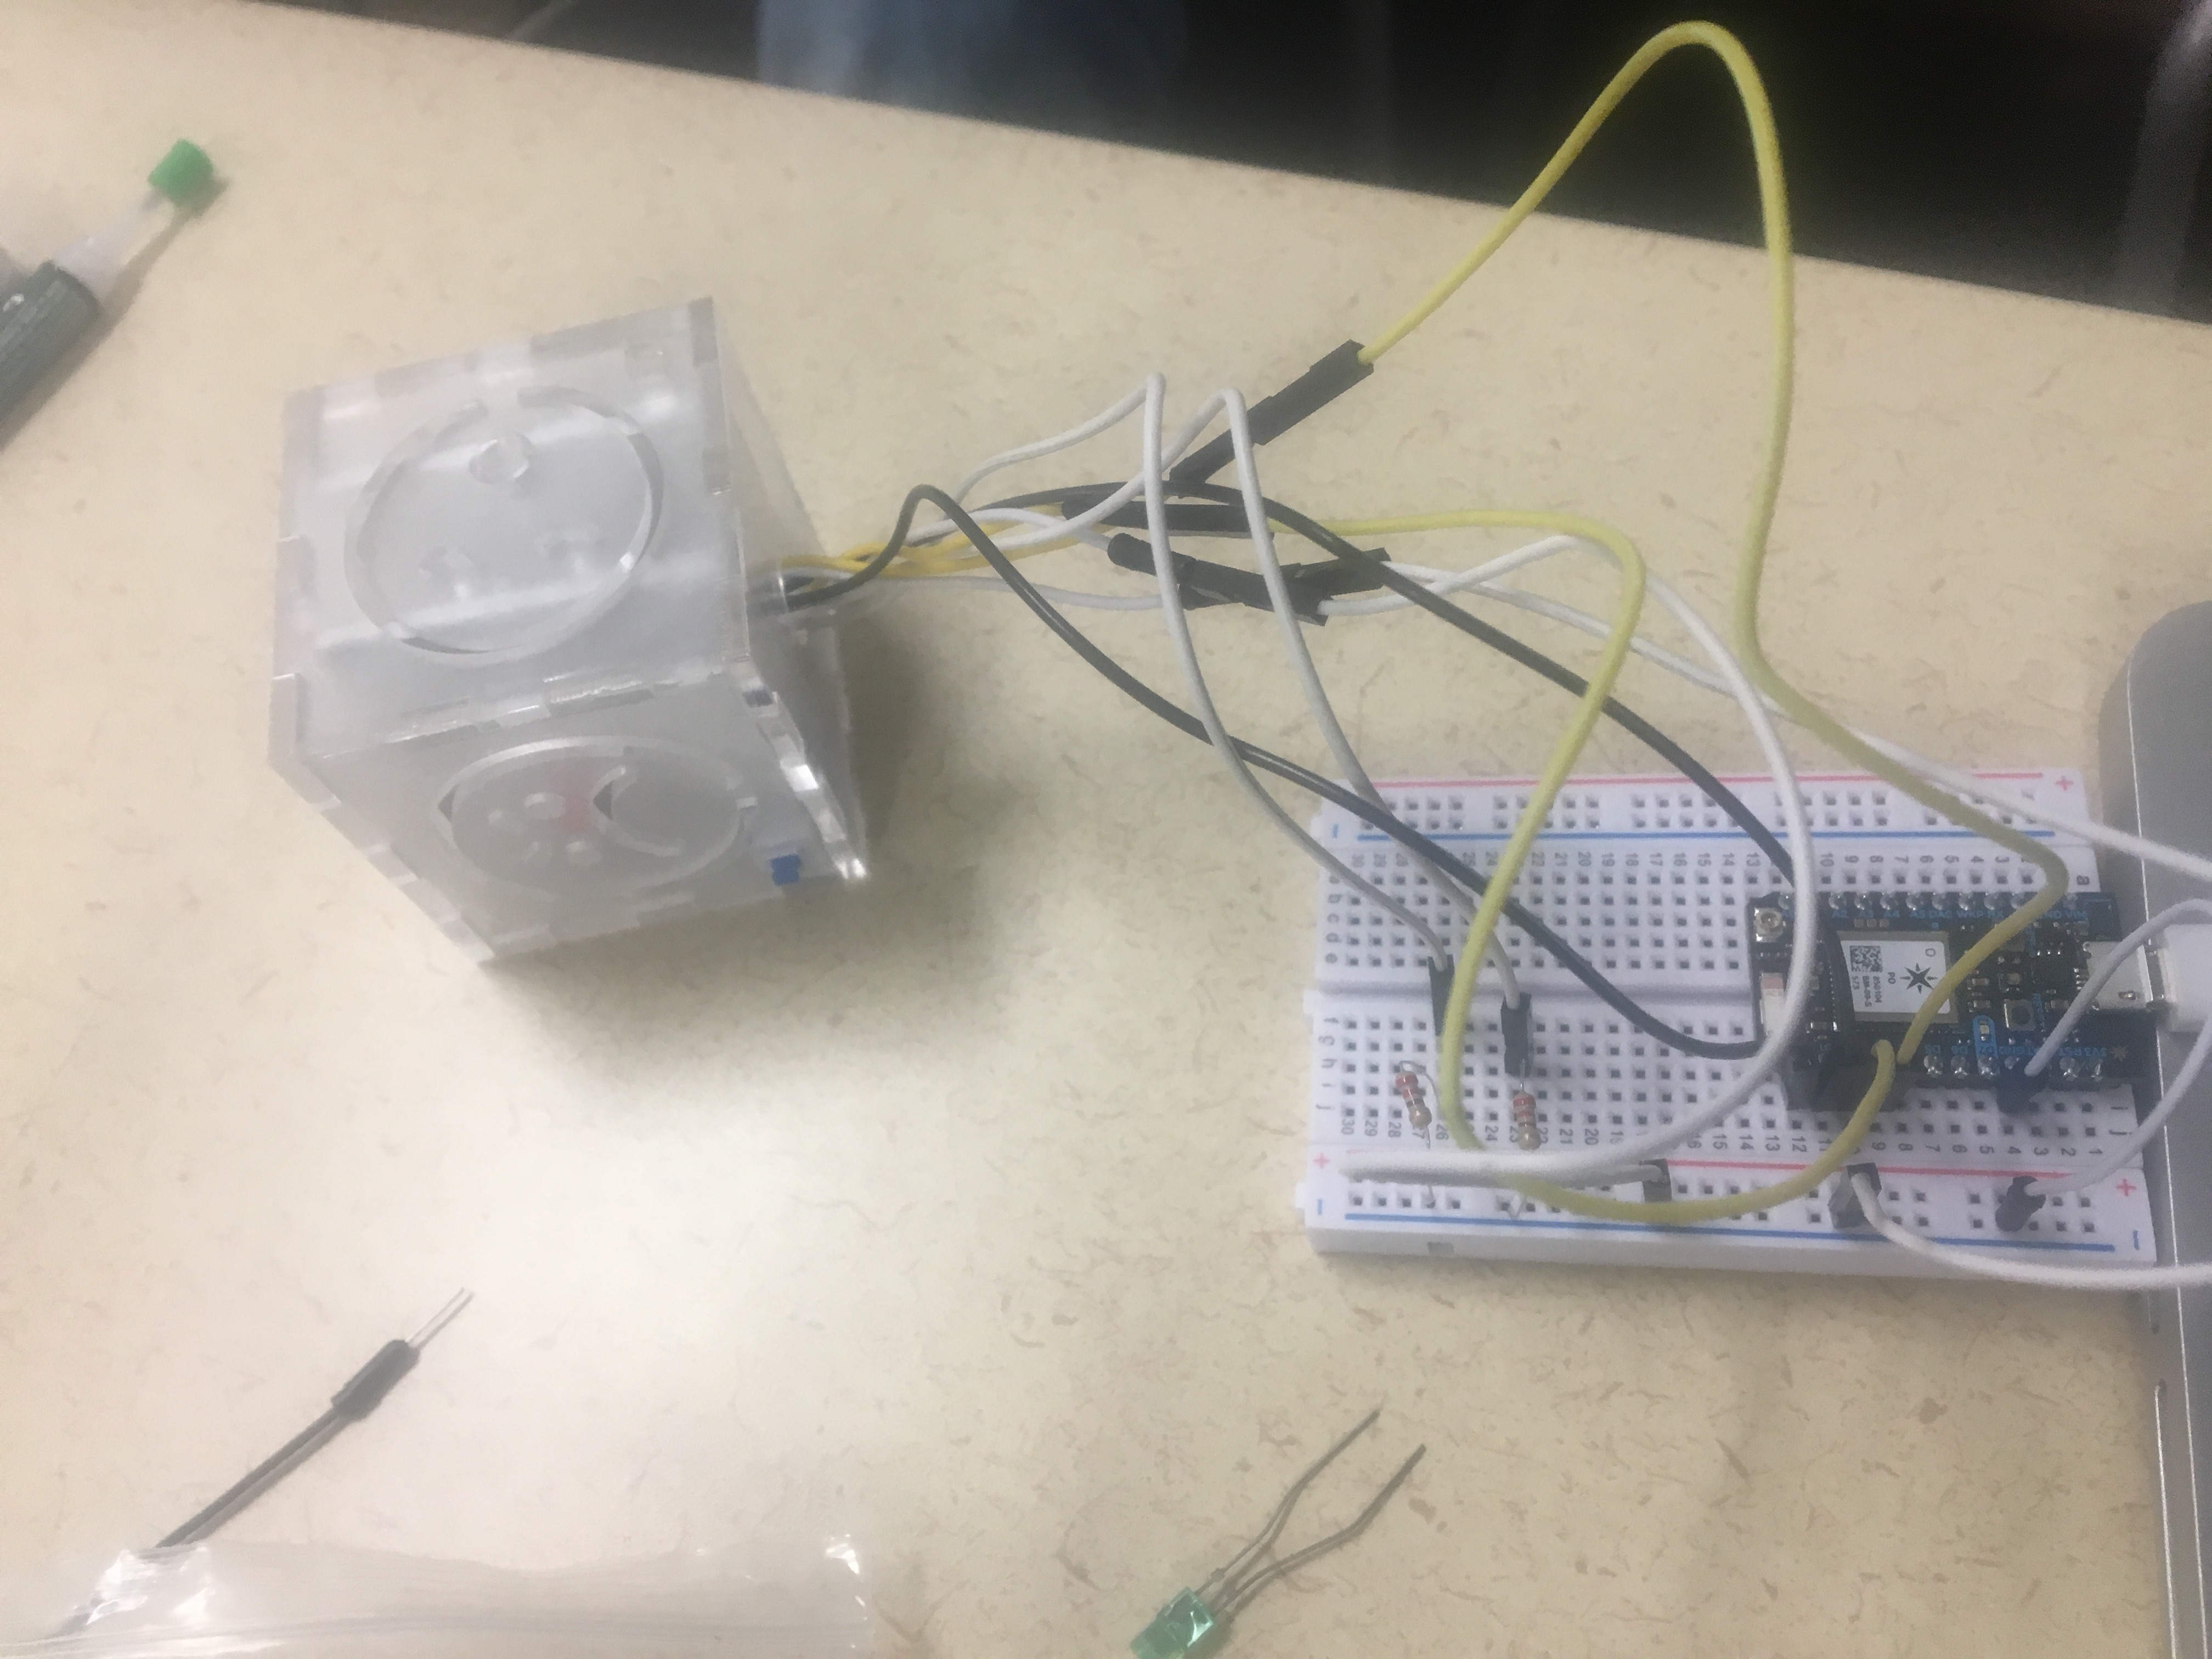
- Extend the wires of the button and the LEDs to fit inside of the emotion cube
- Assemble LEDs and push buttons into the emotion cube and super glue it shut
int happyLedPin = D0;
int sadLedPin = D1;

int happyButtonPin = D2;
int sadButtonPin = D3;
int sadVal;
int happyVal;

void setup()
{
  //setup buttons
  pinMode( happyButtonPin , INPUT_PULLUP);
  pinMode( sadButtonPin , INPUT_PULLUP);

  //setup pins
  pinMode( happyLedPin, OUTPUT);
  pinMode( sadLedPin, OUTPUT);

  //start LEDs off
  digitalWrite( happyLedPin, LOW );
  digitalWrite( sadLedPin, LOW );
  //subscribe to sad emotion events
  Particle.subscribe("db2017/sadEmotion-pushedOff", sadOffhandler);
  Particle.subscribe("db2017/sadEmotion-pushedOn", sadOnhandler);
  //subscribe to happy emotion events
  Particle.subscribe("db2017/happyEmotion-pushedOff", happyOffhandler);
  Particle.subscribe("db2017/happyEmotion-pushedOn", happyOnhandler);
}

void loop() {

  // read the value from the button pin
  sadVal = digitalRead(sadButtonPin);
  happyVal = digitalRead(happyButtonPin);


  if( sadVal == LOW )
  {
      announceSadEmotionOn();
      //digitalWrite(sadLedPin, HIGH);
      delay( 1000 );

  }
  else if ( sadVal == HIGH)
  {
    announceSadEmotionOff();
    //digitalWrite(sadLedPin, LOW);
    delay( 1000 );
  }

  if( happyVal == LOW )
  {
      announceHappyEmotionOn();
      //digitalWrite(happyLedPin, HIGH);
      delay( 1000 );
  }
  else if ( happyVal == HIGH)
  {
    announceHappyEmotionOff();
    //digitalWrite(happyLedPin, LOW);
    delay( 1000 );
  }


}

void announceSadEmotionOn()
{
  Particle.publish( "lm2017/sadEmotion-pushedOn" );
}

void announceSadEmotionOff()
{
  Particle.publish( "lm2017/sadEmotion-pushedOff");
}

void announceHappyEmotionOn()
{
  Particle.publish( "lm2017/happyEmotion-pushedOn");
}

void announceHappyEmotionOff()
{
  Particle.publish( "lm2017/happyEmotion-pushedOff");
}


// sad event handlers and functions

void sadOffhandler(const char *eventName, const char *data) {
  sadOff();
}

void sadOff() {
  digitalWrite(sadLedPin, LOW);
}

void sadOnhandler(const char *eventName, const char *data) {
  sadOn();
}

void sadOn() {
  digitalWrite(sadLedPin, HIGH);
}

// happy event handlers and functions
void happyOffhandler(const char *eventName, const char *data) {
  happyOff();
}

void happyOff() {
  digitalWrite(happyLedPin, LOW);
}

void happyOnhandler(const char *eventName, const char *data) {
  happyOn();
}

void happyOn(){
  digitalWrite(happyLedPin, HIGH);
}Ideally, there would be six different emotions, one for each side of the cube. There would be six different push buttons and six different LED colors for each emotion. Instead of using one LED for the light, a Neopixel or LED strip would be used to better light up which emotion was being felt by the other person. The cubes would not have wires and the boards outside of them and would have a clean aesthetic appearance.
A hands-on introductory course exploring the Internet of Things and connected product experiences.
~
February 13th, 2017