Cat Butler

Made by Janice Chen

Found in DIoT 2018 1- Home Hack

A smart cat feeder that is like a personal butler for your cat(s)!

0
0

With a busy schedule, feeding our pets become another task that can be easily given to an IoT product. Since cats live very independently, eating, napping and playing whenever they want and feel like. The cat butler feeding function can be either activated through a button or wifi input (for remote feeding). This device will make the cat's life fun and fulfilled.

Parts:

1x Micro switch component

1x Servo motor

1x LED

1x Resistor 

Jumper Wires

1x Particle microcontroller

1x Breadboard

1x Iphone for IFTTT

0

Problem Statement: 

With a hectic schedule, it's not always easy to feed my cats at the right time. So how can I feed them without being present at home?

Goal: 

The goal is for me to be able to remotely feed my cats. With IFTTT button trigger, I can feed my cats without having to worry about the time and place. It shouldn’t displace routine of feeding the actual meals, but it can at least provide the cat's sustenance until I arrive home.

0
// Servo myservo;
// int pos = 0;

void setup(){
   pinMode(A5, OUTPUT);
   pinMode(D0, INPUT_PULLUP);
   pinMode(D2, OUTPUT);

   digitalWrite(D2, HIGH);
   delay(500);
   digitalWrite(D2, LOW);
  // RGB.control(TRUE);
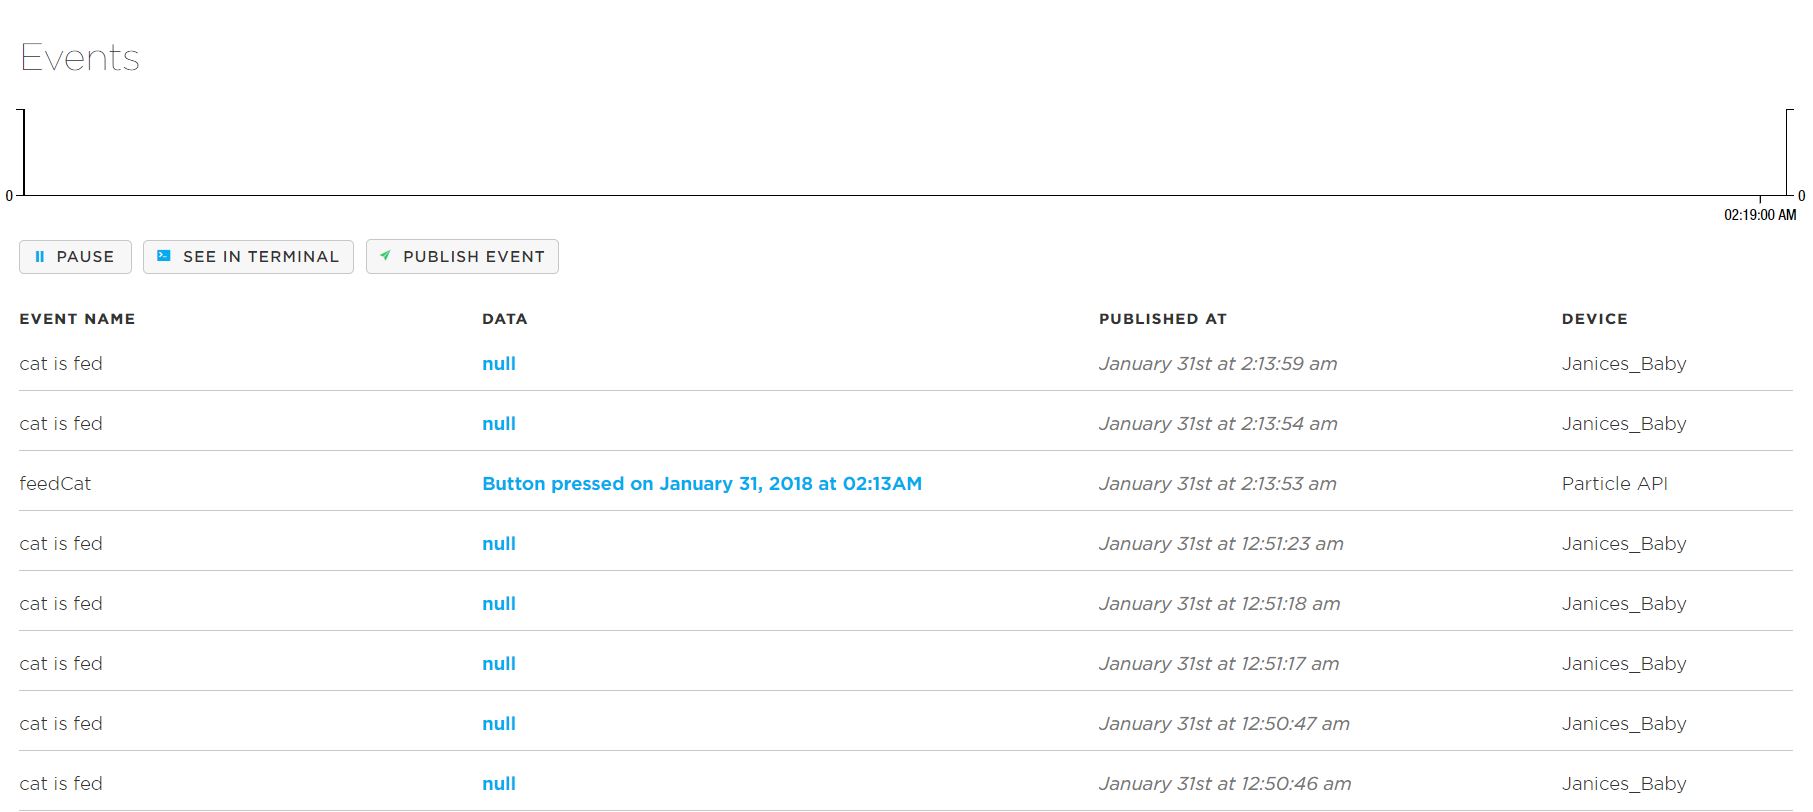
  Particle.subscribe("feedCat", myHandler);
}


void loop(){
  int buttonState = digitalRead(D0);
    if (digitalRead(D0)== LOW){
      analogWrite(A5, 170);
      Particle.publish("cat is fed");
      delay(1000);
    //  RGB.color(0,255,0);
  }//else{
  if (digitalRead(D0)== HIGH){
    analogWrite(A5, 20);
    delay(1000);

    // analogWrite(A5,20);
    // // detach();
    // delay(1000);
  }
}

void myHandler(const char *event, const char *data){
  digitalWrite(D2, HIGH);
  delay(500);
  digitalWrite(D2, LOW);

      analogWrite(A5, 170);
      Particle.publish("cat is fed");
      delay(1000);

    analogWrite(A5, 20);
    delay(1000);

}
Click to Expand
0

Process:

As a starting point, I began with the precedent from hackster.io “DIY Arduino Cat Feeder”. In that process, I encountered problems with the servo and photon. I initially thought I overheated and broke my photon but through tinkering tests with the Particle app, I discovered that I burnt out the A3 pin. Thus, I moved the servo's data input from A3 to A5.

Although the servo was moving, it wasn’t moving in an intentional method. I went through variations of coding and testing to finally get the servo to move to 170 degrees and back to its original position. After successfully getting the servo to move with a micro switch input, I wanted to be able to remotely access the device, so I established an IFTTT push trigger. IFTTT managed to publish an event on my Particle console, but it was not connecting to the photon. To troubleshoot it, I tested with a LED to see if it was connected. Through that process, I established a problem with the code. There was extraneous information under the void myHandler code which was solved when I took it out. Now it works!

0

Reflection:

During the process, I learned a lot about troubleshooting. Additionally, I learned that I must be very careful when working with servos. I would have spent more time researching about servos and the different ways to make a cat feeder before starting to reduce the time I spent on troubleshooting each pin/component. I am very happy with the outcome of this assignment and how much I’ve learned. There are definitely alot of room for improvements, I would change the power supply to make it less glitchy. I would also use a better servo component that won't easily overheat and break.

x
Share this Project

Courses

49713 Designing for the Internet of Things

· 25 members

A hands-on introductory course exploring the Internet of Things and connected product experiences.


Focused on
About

A smart cat feeder that is like a personal butler for your cat(s)!

Created

January 24th, 2018