#include "HttpClient/HttpClient.h"
// This #include statement was automatically added by the Particle IDE.
#include "Adafruit_DHT/Adafruit_DHT.h"
// Example testing sketch for various DHT humidity/temperature sensors
// Written by ladyada, public domain
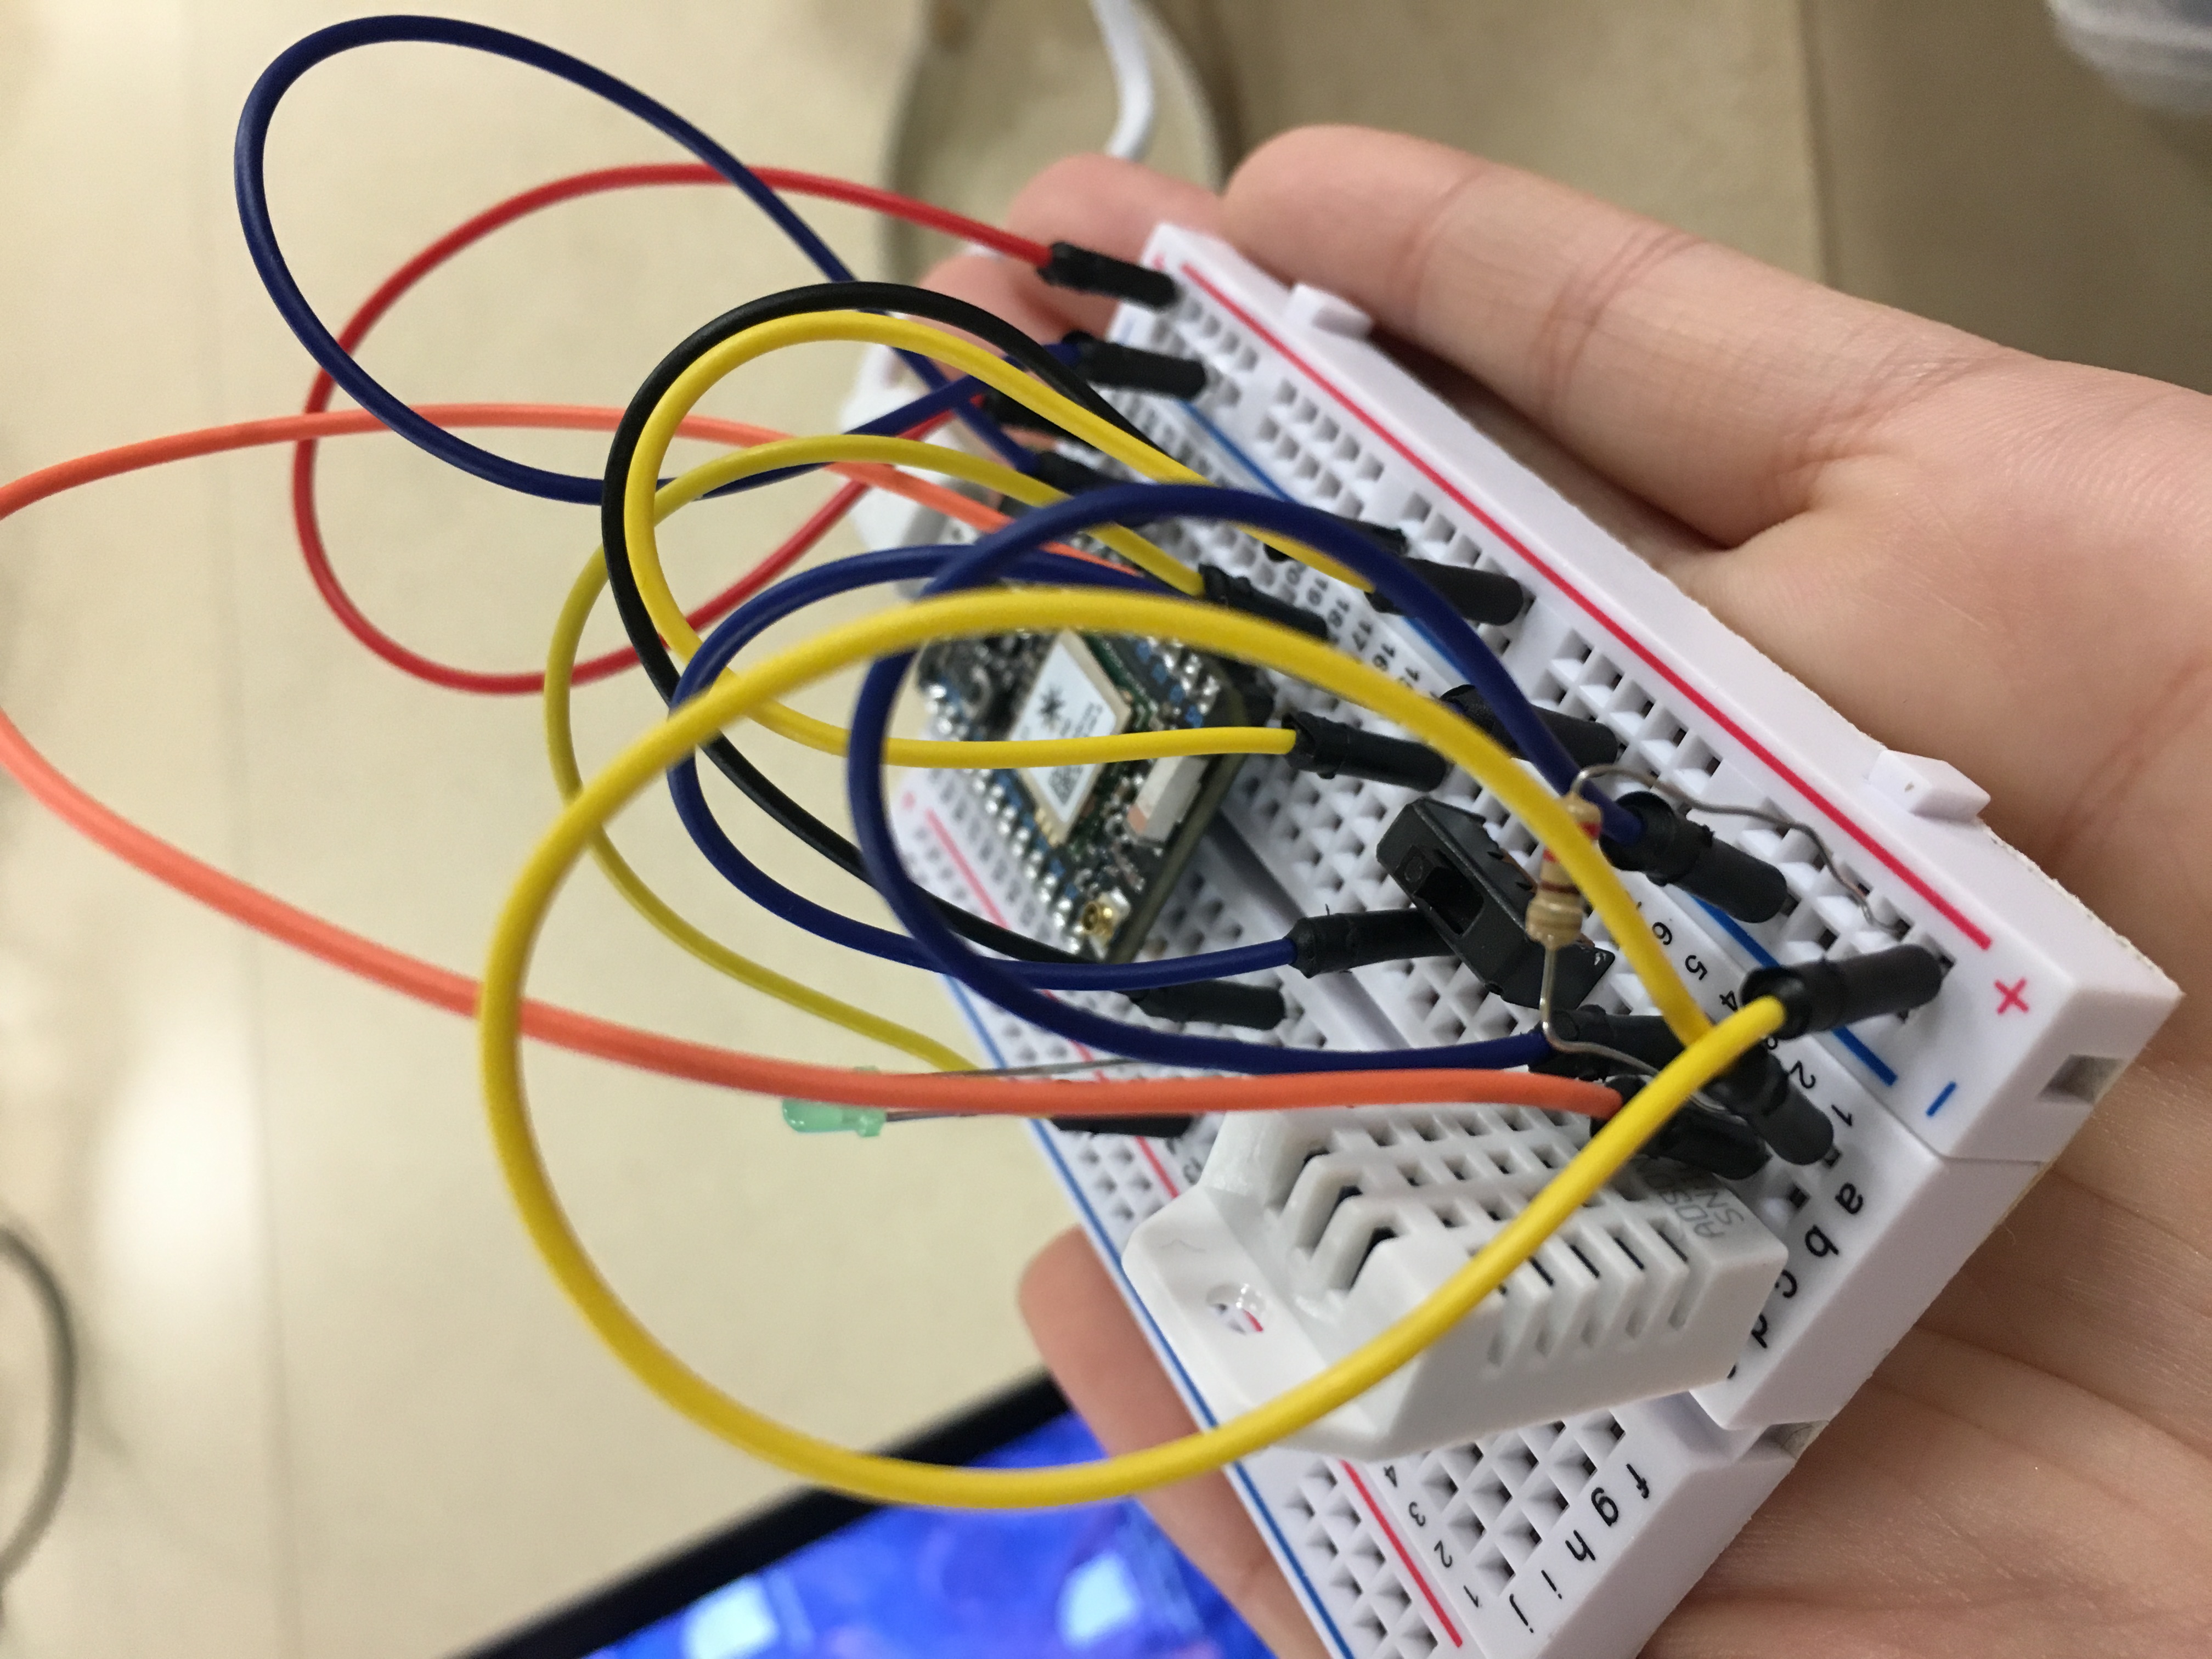
#define DHTPIN D2 // what pin we're connected to
// Uncomment whatever type you're using!
//#define DHTTYPE DHT11 // DHT 11
#define DHTTYPE DHT22 // DHT 22 (AM2302)
//#define DHTTYPE DHT21 // DHT 21 (AM2301)
// Connect pin 1 (on the left) of the sensor to +5V
// Connect pin 2 of the sensor to whatever your DHTPIN is
// Connect pin 4 (on the right) of the sensor to GROUND
// Connect a 10K resistor from pin 2 (data) to pin 1 (power) of the sensor
DHT dht(DHTPIN, DHTTYPE);
/**
* Declaring the variables.
*/
unsigned int nextTime = 0; // Next time to contact the server
HttpClient http;
// Headers currently need to be set at init, useful for API keys etc.
http_header_t headers[] = {
// { "Content-Type", "application/json" },
// { "Accept" , "application/json" },
{ "Accept" , "*/*"},
{ NULL, NULL } // NOTE: Always terminate headers will NULL
};
http_request_t request;
http_response_t response;
int LedIn = D0;
void setup() {
Serial.begin(9600);
Particle.publish("DEBUG","DHT22 test!");
pinMode(LedIn, OUTPUT);
dht.begin();
}
void loop() {
// Wait a few seconds between measurements.
delay(1000);
// Reading temperature or humidity takes about 250 milliseconds!
// Sensor readings may also be up to 2 seconds 'old' (its a
// very slow sensor)
float h = dht.getHumidity();
// Read temperature as Celsius
float t = dht.getTempCelcius();
// Read temperature as Farenheit
float f = dht.getTempFarenheit();
Serial.println("\nHumid:");
Serial.print(h);
/*Serial.println("\nTemC: ");
Serial.print(t);
Serial.println("\nTemF: ");
Serial.print(f);*/
// Check if any reads failed and exit early (to try again).
if (isnan(h) || isnan(t) || isnan(f)) {
Particle.publish("DEBUG","Failed to read from DHT sensor!");
return;
}
if (h > 30) {
digitalWrite(LedIn, HIGH);
}
if ( h < 30){
digitalWrite(LedIn, LOW);
}
// Compute heat index
// Must send in temp in Fahrenheit!
float hi = dht.getHeatIndex();
float dp = dht.getDewPoint();
float k = dht.getTempKelvin();
//Serial.print("Humid: ");
//Serial.print(h);
//Serial.print("% - ");
//Serial.print("Temp: ");
//Serial.print(t);
//Serial.print("*C ");
//Serial.print(f);
//Serial.print("*F ");
//Serial.print(k);
//Serial.print("*K - ");
//Serial.print("DewP: ");
//Serial.print(dp);
//Serial.print("*C - ");
//Serial.print("HeatI: ");
//Serial.print(hi);
//Serial.println("*C");
//Serial.println(Time.timeStr());
//cast floats to string
String sf(f, 2);
String sh(h, 2);
//pblish tests
//Spark.publish("faranheight",f,60,PRIVATE);
Particle.publish("TEMP",sf);
Particle.publish("HUMIDITY",sh);
//post to dweet
request.hostname = "dweet.io";
request.port = 80;
request.path = "/dweet/for/particlehumiditysesor?temp=" + sf + "&humidity=" + sh;
//json body doesn't work
//request.body = "{\"humidity\":\"43%\",\"temp\":\"45f\"}"; //"{\"key\":\"value\"}";
Particle.publish("DEBUG",request.body);
// Get request
http.get(request, response, headers);
//Spark.publish("DEBUG","Application Response status: ");
//Particle.publish("DEBUG",response.status);
//Spark.publish("DEBUG","Application HTTP Response Body: ");
Particle.publish("DEBUG",response.body);
}
Click to Expand